
A lot of photographers enjoyed their work with the old Leica M full frame photo lenses because of its so-called iconic and unique look over the past 60 years. Now Leitz Cine Wetzlar starts to offer this look to cinematographers releasing the same glass in cine housings with M-Mount. Calling them the M 0.8. Lets get into it.

Viele Fotographen erinnern sich noch an die alten Leica M Full Frame Optiken, denen ein ganz eigener und besonderer Look nachgesagt wird. Nun bietet Leitz Cine Wetzlar diesen Look auch Filmschaffenden; altes Glas in neuem Cine Gehäuse: Die M 0.8 Serie.
Why did we choose these lenses?
To be honest we did not really reach out to get them. It was more the very complaisant rental house “Finder TV Kameraverleih” in Cologne which offered them to us while we were searching for some affordable full frame lenses with a certain cineastic character for two low-budget music video productions. After a little online research we found out that there are less sample movies and opinions on that glass than we hoped so we decided to check them out and finally used them for our production. Here comes what we would like to share with you in order to help you sorting out if this lens set may be suitable for your moving pictures or not.
Short facts.
The lens set comes with 8 selected primes, which are the 21 / 24 / 28 / 35 / 50 mm with a T-Stop of 1.4 each and the 75 / 90 mm with a T-Stop of 2.0.
A very special guest in the family is the Noctilux 50mm with an incredible T-Stop of 0.95. As all lenses are covering full frame there is no wider focal length but as long as you do not want to do the peephole skater shot there is no real need for it.
Backend is the Leica M-Mount.
Testing in the laboratory and in the field.
Wanting to offer a lens set test with a broad test range we decided to check the glasses under laboratory conditions in terms of more theoretical aspects such as optical aberrations and other “defects” which thoroughly take part in the characterization of a lens and in the field where we could definitely check the lenses in terms of skin tones, set colors or big operator hands (spoiler alert!).
At this point I have to mention that our tests are based on practical experiences which we gained as users and artists and not as Zeiss lens technicans so please forgive us any kind of technical incorrectness J
Camera Body.
As we knew we couldn’t afford a full frame cine camera body like the Alexa LF or the Monstro and we also knew that we would have to shoot car insides as well as in a shower cabin, under a bed blanket and on a DJI Ronin S (everything that a normal household offers) we decided for the good old Sony a7s Mark ii recording externally in 4:2:2 ProRes. We know the body is not in the very center of every cinematographer’s heart but it offers a certain flexibility and especially sensitivity when you are trying to combine a small budget, a small team or smaller means with image quality. Just be aware of the boundaries and try to work within these then the body and the codec can be good friends to you. So let’s finally start.
Laboratory.
We wanted to find out if the focal lengths differ in color or contrast, if the wider ones suffer under distortion, if we’ll see vignetting (in this case with the Novoflex adapter) or any kind of aberration especially when shooting open wide what would attract every cinematographer and especially especially with the Noctilux 0.95. Focus breathing and Flare behavior do come on top.
As pictures can say lot more than words, have a look into the following videos (Leitz Cine Wetzlar M 0.8 on Sony a7s Mark ii, Novoflex M-Mount to E-Mount Adapter, Sony S-Log2, S-Gamut, UHD 100 Mbit, graded with the Alister Chapman Venice LUT for S-Slog 2)
Focus breathing, distortions, aberrations through focus and iris changing, lens flare, vignetting.
In this test we wanted to find out how the whole set acts in terms of focus breathing, distortions and any aberrations through focus changing. Therefor we chose the open widest aperture for each lens and repeated the test with an f4.0 to see if there is a noteworthy difference in image quality between the extreme spot and the sweet spot.
Warum haben wir uns für diese Optiken entschieden?
Um ehrlich zu sein, kannten wir diese Optiken zu Beginn unserer Produktion noch nicht einmal. Es war der äußerst entgegenkommende Equipment Verleih Finder TV aus Köln, der uns diese auf der Suche nach bezahlbaren Full Frame Optiken mit möglichst cineastischem Look für eine Low Budget Musikvideo Produktion anbot. Auf der Suche nach Tests und Beispielen wird man im Internet nur leider kaum fündig, daher haben wir uns entschieden, unsere Erfahrungen für alle kommenden Interessenten hier zu veröffentlichen.
Short facts.
Das Optikset besteht aus 8 ausgewählten Festbrennweiten: 21 / 24 / 28 / 35 / 50 mm mit einem T-Stop von 1.4 und 75 / 90 mm mit einem T-Stop von 2.0.
VIP Gast in dem Set ist die Noctilux 50mm mit einem T-Stop von 0.95. Alle Optiken decken Full Frame Sensoren ab. Zwar gibt es keine kürzeren Brennweiten, da wir aber über Full Frame reden, erscheint die 21mm für normale Drehs erstmal ausreichend.
Alle Optiken sind mit dem Leica M-Mount versehen.
Optik Test am Set und unter Laborbedingungen.
Um den Test möglichst umfangreich gestalten zu können, führen wir ihn am Set während normaler Dreharbeiten und beim Verleih unter Laborbedingungen durch. So können wir einerseits eher theoretische Eigenschaften, wie optische Aberrationen testen und andererseits Aspekte wie Hauttöne und Handhabung.
An dieser Stelle wäre zu erwähnen, dass unsere Tests auf praktischen Erfahrungen als Kameraleute beruhen und nicht auf einer hoch qualifizierten Ausbildung zum Zeiss Optik Techniker. Wir werden uns aber größte Mühe geben 🙂
Kamera Body.
Da uns von vornherein bewusst war, dass wir uns die Alexa LFs und Monstros dieser Welt für diese Produktion nicht leisten können, allerdings auch Schüsse innerhalb von Autos, unter Bettdecken, in Duschkabinen und auf dem Ronin-S anstanden, haben wir uns für die Sony Alpha 7s ii mit externem 4:2:2 ProRes Recording entschieden. Natürlich ist diese Kamera nicht unbedingt das größte Objekt der Begierde für Cinematografen, allerdings bietet sie in bestimmten Situationen den richtigen Kompromiss aus Flexibilität, Qualität und Preis, speziell für Low Budget Produktionen. Und wenn man weiß, wo ihre Grenzen sind und was innerhalb ihrer möglich ist, kann sie einem ein guter Begleiter werden.
Labor.
Ziel war es, herauszufinden, wie die Optiken in Hinsicht auf Farben und Kontrast, Verzerrung und Vignetting (vor allem mit dem in diesem Fall eingesetzten Novoflex Adapter) arbeiten. Optische Aberrationen vor allem bei offenen Blenden, Focus Breathing und Flares sollen auch mit in die Bewertung, vor allem bei der Noctilux 0.95.
Da Bilder deutlich mehr als Worte sagen, möchten wir hier vor allen Dingen Framegrabs aus dem Rohmaterial und Testvideos zeigen. (Leitz Cine Wetzlar M 0.8 mit der Sony a7s Mark ii, Novoflex M-Mount to E-Mount Adapter, Sony S-Log2, S-Gamut, UHD 100 Mbit, farbkorrigiert mit dem Alister Chapman Venice LUT für S-Slog 2)
Focus Breathing, Verzerrung, Aberrationen durch Focus- und Blendenveränderung, Lens Flares, Vignetting.
Hier wollten wir herausfinden, wie das ganze Set in den oben genannten Aspekten bei gänzlich offener Blende wie auch bei Blende f4.0 arbeitet, was der Sweat Spot der Optiken sein sollte.
As you can see focus breathing happens through the whole set but the amount is pretty average and it may only strike on wider focal lengths where focus ways usually are not that big.
Else we can see that there is nearly no distortion taking place. The camera was set to zero tilt all the time and the straight lines of the door and the pillar at the left and right end of the frame show a very linear vertical course.
Hunting for some optical artefacts such as chromatic aberrations ends up not very successful. The lenses stay quite faithful. If we wanted we could presume a little glow and a minimal color shift in darker areas when the lenses are open wide. But it’s not bad enough to forbid such apertures. Wanna be safe, then do it as you do with every single lens: Try to avoid using it at the very end of the iris scale.
A little exception is made by the Noctilux 50mm. The f-stop 0.95 still makes a valid picture but it shows a lot more glow and a certain kind of colored aberration at edges of high contrast. The way it focusses also looks different to the other lenses. It has a bit more of shifting the flange back distance then the actual lens focus. So if you plan to enhance your picture with nice softnesses the Noctilux might not become your first choice.
Nevertheless: Comparing both 50mm lenses at f1.4 results in nearly the same image quality except the flare behavior (see below).
Wie man sehen kann, passiert Focus Breathing bei eigentlich allen Brennweiten, hält sich aber in durchschnittlichem Rahmen und fällt am meisten bei offeneren Brennweiten auf, wo extrem lange und schnelle Schärfezüge ja nicht unbedingt häufig vorkommen.
Des Weiteren sieht man, dass nahezu keine Verzerrungen bei den Optiken stattfindet. Die Kamera ist durchgehend zero tilt geschwenkt und an den vertikalen Linien der Tür und der Säule im Bild kann man sehen, dass das Bild auch im Randbereich sehr geradlinig abgebildet wird.
Auch optische Artefakte sucht man lange bis vergebens. Die Optiken zeigen sich standhaft und qualitativ. Wenn man wollte, könnte man ihnen höchstens eine leichte Unschärfe und eine minimale Farbverschiebung bei ganz geöffneter Blende und auch nur in den dunkleren Bereichen unterstellen. Allerdings reicht dieser Effekt nicht aus, um open wide verbieten zu müssen. Ansonsten ist es wie bei allen Optiken: Die Verwendung mit gänzlich geöffneter Blende ist mit Vorsicht zu genießen.
Eine kleine Ausnahme hierbei macht die Noctilux 50mm. Mit f-stop 0.95 macht sie immernoch ein gültiges Bild, zeigt aber deutlich mehr Glow und eine gewisse Farbverschiebung an hoch-kontrastigen Rändern im Bild. Fokuszüge sehen ebenfalls etwas anders aus, als bei den anderen Brennweiten der Serie. Sie wirken, wie eine Verschiebung der Auflage. Bei einem Bild mit schönem Unschärfespiel sollte man also eher zu der klassischen 50mm geifen.
Nevertheless: Beide 50mm Optiken bei f1.4 gegeneinander gehalten resultiert in nur sehr wenigen, qualitativen Unterschieden. Lediglich die Lens Flares fallen deutlich anders aus (s. unten)
Another fact when comparing the Noctilux 50mm and the normal 50mm is the difference in size and weight. If you plan to quickly interchange these lenses have in mind that you may have to readjust center balance or other gear like focus motors.


Einen anderen Unterschied zwischen der Noctilux 50mm und der normalen 50mm machen Größe und Gewicht aus. Ein schneller Wechsel, wie zwischen den restlichen Brennweiten – vor allem auf einem Gimbal – ist also nicht so einfach möglich. Ggf. muss das Setup neu justiert werden.
Next we wanted to know if different apertures cause significant changes in image quality. But except the assumption that the image looses a bit of sharpness and wins a very slight color shift we can happily declare that there are not really optical consequences to care for.
Als nächstes wollten wir herausfinden, ob unterschiedliche Blendeneinstellungen einen signifikanten Qualitätsunterschied ausmachen. Allerdings lässt sich dahingehend zusammenfassen, dass außer der ganz leichten Farbverschiebung im offen blendigen Bereich keinerlei optische Konsequenzen zu erwarten sind.
Last but not least we wanted to know how lens flares happen and look like in longer focal lengths. As different light sources, camera angles and shooting circumstances always take influence on how the lens flare finally appears this test shall just give a rough feeling about what happens when direct light falls into the lenses. Important to say is that if you are about to let lens flares happen in your frame and you have the choice between the Noctilux and the normal 50mm always chose the normal one. The Noctilux flare does not have a very beautiful character. All others do have a good appearance with full width, certain rings and ghosts that shape nicely during moving. Just don’t expect too much magic on this, it’s still not an effect lens and nowadays bold flares are often used to give the picture an arty certificate. If you are looking for this you may find the M 0.8 flare a bit to weak. But look and see:
Last but not least wollten wir wissen, wie sich Lens Flares vor allem im länger brennweitigem Bereich darstellen. Da unterschiedlichste Lichtquellen, Kamerapositionen und Drehumstände hierauf auch Einfluss nehmen, soll dieser Test nur ein grobes Gefühl dafür geben, was passiert, wenn Licht direkt in die Optik fällt. Sollte man allerdings mit der Brennweite 50mm und Lens Flares arbeiten wollen, so ist die Noctilux 50mm auf jeden Fall nur zweite Wahl nach der normalen 50mm, da ihre Flares einen eher hässlichen und technischen Character haben. Alle anderen Flares überzeugen grundsätzlich durch eine ordentliche Fülle, sind jedoch die falsche Wahl, wenn man im Star Trek Wahn Gläser sucht, bei denen Lens Flares eher wie stark auffällige Effekte wirken sollen. Hier die Beispiele:
Finally we have to say that all M 0.8 resulted in a decent vignette when using it with the Novoflex Adapter on the Sony a7s Mark ii (Full Sensor).
Mit dem Novoflex Adapter stellt man bei allen M 0.8 eine dezente Vignette am Rand des Full Frame Bildes fest.

Though it can easily be seen in testing circumstances the vignette transition is so soft and the intensity low enough that we did not notice it during all 5 days of shooting even in pure white snow. All pictures posted here do not have a vignette correction so you can get a good idea of this issue yourself. By the way…
In the field.
Housing.
At first we have to say that the lenses themselves are pretty small for cine primes and do indeed remember at the old Leica M photo primes or the classic Zeiss T2.1. Good for traveling and moving sets is that the whole set of primes finds place in a medium sized case.
It’s material feels very durable, the lens rings of classic cine size 0,8mm are solid and big enough for all common pitch gears, the lettering is clear and big enough. The front diameter of 80mm is consistent through the whole series which makes it easy to use the same matte box donut or screw in filter (77mm) for all lenses. So far so great!
The iris ring is located at the front of the lens which professional cine users may have to get used to. The focus ring – and here comes the thing – is located right next to the iris ring which leads to a certain problem for the operator: If using the lens in complete handheld mode without any wireless focus or follow focus you easily touch both rings at the same time and when turning the focus ring you also adjust the iris ring what mostly crashes the whole shot. The fact that the iris ring moves really really easy but the focus ring generally not only makes it even worse. Therefor Leitz added two little threads to the focus ring (one on the operator’s and one on the assistant’s side of the camera) and a bunch of long pins to attach to these threads to pull focus with. Well, I’d say it’s more a compromise than a complete solution to this problem. While we may be used to attach zoom fluids directly to the lens a focus movement in the same manner still feels a bit odd. Be aware that depending on the tripod plate or the rig of your camera the pin on the operator’s side may touch it before you reach infinity on the focus scale (see picture below).


Obwohl die Vignette auf weiß einfach und schnell zu erkennen ist, ist ihr Übergang und ihre Intensivität doch so gering, dass sie uns während eines 5 tägigen Drehs – unter anderem in purem, weißem Schnee – kein einziges Mal aufgefallen ist. Alle hier geposteten Bilder sind ohne jegliche Korrektur der Vignette. Und wo wir gerade beim Thema Dreh sind…
On location.
Gehäuse.
Als erstes ist zu erwähnen, dass die Optiken für Cine Objektive relativ klein sind. Sie erinnern in ihrer Größe tatsächlich an die Leica M Fotolinsen oder an die klassischen Zeiss T2.1 Cine Optiken, was gut für Sets mit vielen Umzügen oder Flüge ist. Alle Brennweiten finden Platz in einem mittel-großem Case.
Das Gehäusematerial fühlt sich sehr wertig und robust an, die Zahnkränze sind breit und funktionieren mit klassischem Filmzubehör (0,8mm Zahnbreite). Der Frontdruchmesser ist bei allen Brennweiten 80mm, was es sehr einfach macht, Filter (77mm Filtergewinde) und Kompendien zu wechseln.
Der Iris Ring ist am vorderen Optikende angebracht, woran sich Benutzer klassischer Cine Optiken etwas gewöhnen müssen. Der Fokusring ist direkt neben dem Irisring angebracht, was in einem gewissen Handheld Mode zu Problemen führen kann: Da der Irisring extrem leichtläufig ist und der Schärfering nicht, verstellt man mit der Hand an der Optik während eines Schärfezugs schonmal sehr leicht auch die Blende. Als Lösung dieses Problems liefert Leitz mehrere dünne Hebel mit Schraubgewinde, die in zwei am Fokusring befindliche Gewinde (eins auf der Operator- und eins auf der Assistentenseite) eingeschraubt werden können. So ist der etwas schwerläufige Fokusring einfacher zu bewegen, ohne dabei die Blende zu berühren. Die Benutzung ist jedoch sehr gewöhnungsbedürftig und daher nur zum Teil eine Lösung des Problems. Achtung: Je nach Größe z.B. einer unter der Optik befindlichen Stativplatte kann es sein, dass der Hebel an dieser anstößt, ohne das Ende des Fokusweges erreicht zu haben (s. Bild)
In addition to this the focus ring only turns about 90 degrees for the whole range from close focus to infinity. As this throw is normal for photo lenses, cine lenses operated manually need a way more sensitive division of the focus ring. That means that you should definitely use those lenses at least with a follow focus. Just be aware of very tight mounting opportunities in front of your camera body due to the shortness of the lens and the eventuality of a matte box in front of it. A wireless focus system which expands the throw due to its transmission may be the best solution here. And the most comfortable of course.
The reason why the focus ring does not turn as easy as others may be that the M 0.8 are lenses with external focusing. That means that the lens groups move and the housing extends while focusing. You have to take that into account when you are producing in a cinematic environment: For example does the lens move into the matte box as long as this one is not screwed into the lens directly or the center weight shifts depending on your focus position. That may affect the functionality of your gimbal motors (though the Ronin S gave nothing on this shift). To give you a certain feeling of this shift we created a short list about the length the lens expands while moving from close focus to infinity:
21mm:
24mm:
28mm:
35mm:
50mm:
Noctilux 50mm:
75mm:
90mm:
1mm movement
1-2mm movement
2mm movement
2mm movement
5-6mm movement
4mm movement
14mm movement
9mm movement
Hinzu kommt ein für Fotooptiken typischer, sehr kurzer Fokusweg von nur ca. 90 Grad von Nahstellgrenze zu Unendlich. Klassische Cine Objektive haben einen deutlich längeren Weg, um den Fokus feiner einstellen zu können. Es empfiehlt sich also auch hier die Nutzung eines Wireless Fokus Systems, um eine entsprechende Übersetzung zu adaptieren. Mindestens ein Follow Focus ist angebracht, aber auch hier ist zu beachten, dass es aufgrund der extrem kompakten Bauweise der Optik zu Platzproblemen vor dem Body kommen kann.
Ein Grund für den etwas trägen Fokusring mag die Aussenfokussierung des Objektivs sein, was bedeutet, dass sich die Länge der Optik während des Fokussierens ändert. Das ist im Cine-Umfeld wichtig zu wissen: Die Optik verlängert sich unter Umständen und je nach Brennweite unterschiedlich weit in ein Aufsteckkompendium hinein und der Schwerpunkt des gesamten Systems ändert sich je nach Schärfestellung. Das könnte z.B. die Motoren eines Gimbals belasten. In unserem Fall lies sich der Ronin S allerdings kein bisschen davon beeindrucken.
Um ein Gefühl für die Gewichtung der Aussenfokussierung zu geben, haben wir folgende Liste erstellt, in der die Optikverlängerung bei einem Schärfehub von Nahstellgrenze bis Unendlich aufgezeigt wird:
21mm:
24mm:
28mm:
35mm:
50mm:
Noctilux 50mm:
75mm:
90mm:
1mm movement
1-2mm movement
2mm movement
2mm movement
5-6mm movement
4mm movement
14mm movement
9mm movement
One has to say that the close focus may become a little challenging. 0,7m (1m for the Noctilux 50mm and the 90mm) is not really enough when you are chasing for details, eyes onlys or “Revenant” close ups. Be sure to include diopters in your set when you go out with Leo.
An dieser Stelle ist zu erwähnen, dass die Nahstellgrenze der M 0.8 hier und da eine Herausforderung darstellt. 0,7m (und 1m für die Noctilux und die 90mm) sind nicht wirklich genug, wenn man auf der Jagd nach Details ist. Es empfehlen sich auf jeden Fall Diopter im Set.
Framegrab Slog2 native and LUT (Alister Chapman Venice -1 Green LUT)
M 0.8 35mm set to close focus.
Framegrab Slog2 native and LUT (Alister Chapman Venice -1 Green LUT)
M 0.8 35mm auf Nahstellgrenze.
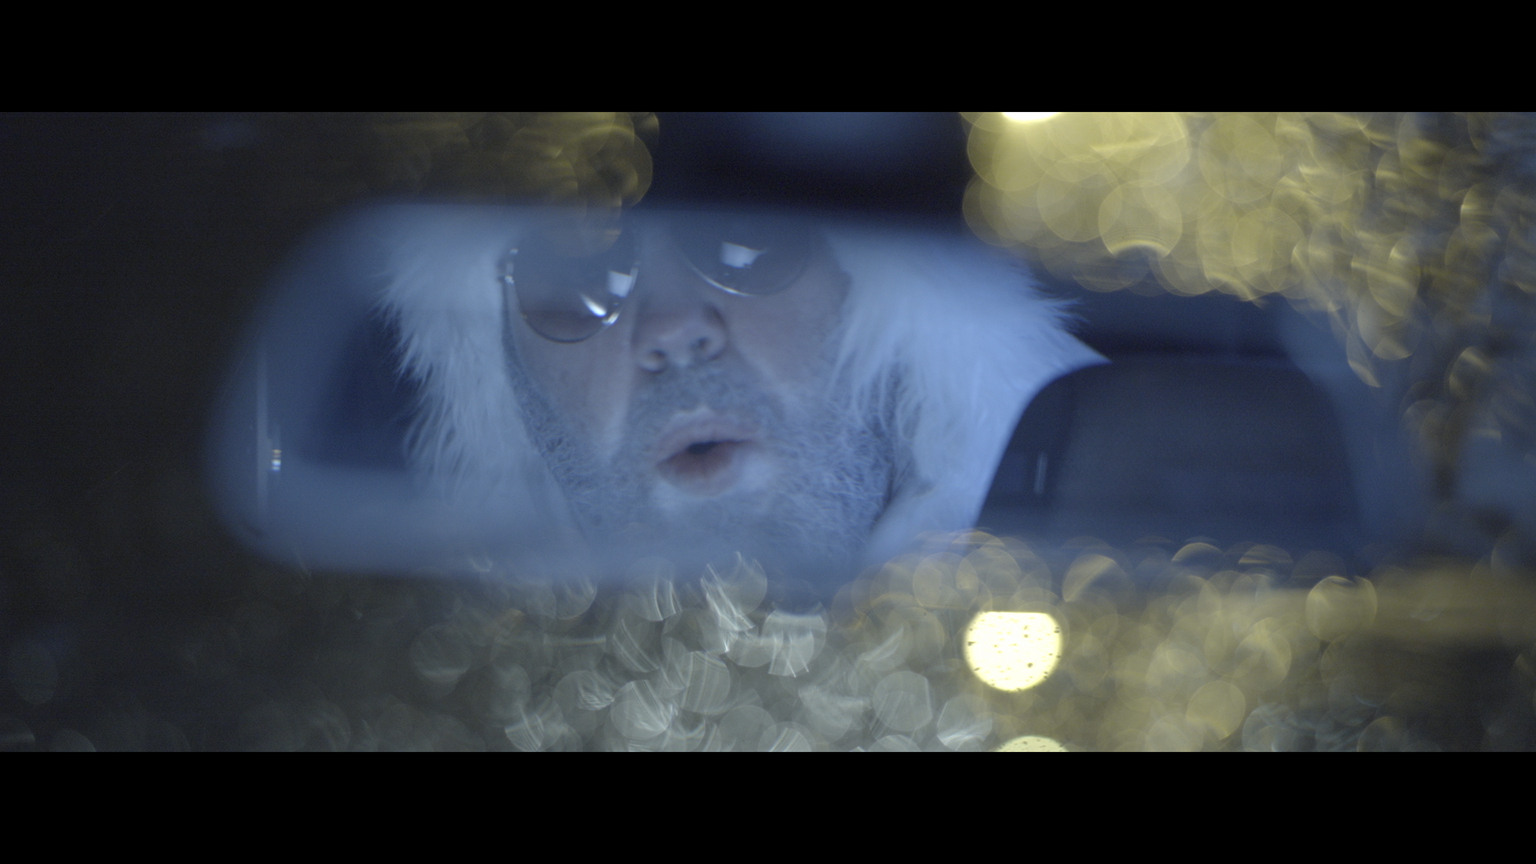
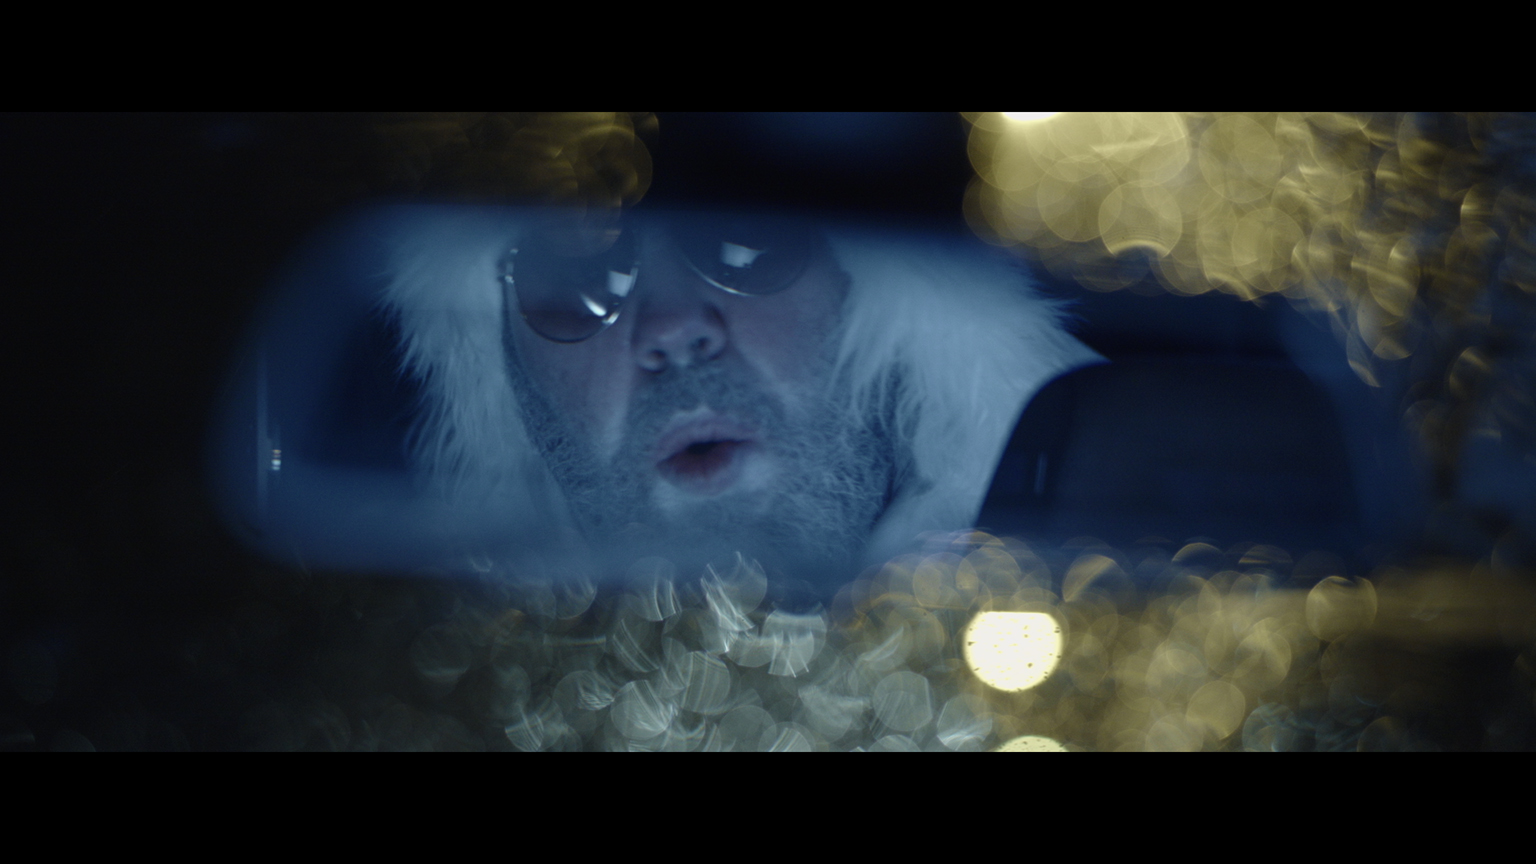
Very useful could be the detachable Sunshade. In our case we needed to mount the camera to the front wind screen of a car. Due to missing car grip we needed to improvise with normal glass suction cups which brought the camera to close to the windscreen to properly tilt it to the right position. The removable shade was a blessing then.


In Einzelsituationen zeigte sich die abschraubbare Sonnenschutzblende als sehr nützlich. In unserem Fall musste die Kamera mit eher rudimentären Mitteln hinter eine Windschutzscheibe gemounted werden. Die Kamera kam dabei so nah an die Scheibe, dass wir nur durch Abschrauben der Sonnenschutzblende auf die korrekte Position schwenken konnten.
Enough Tech Talk at this state, lets get to the point that everybody is interested in:
How do the M 0.8 look?
The first impression the M 0.8 gave us was a very harmonic and unobtrusive one. They are remindful of older cine lenses which create a soft reproduction of what your eyes see without pinning out certain parts of the frame in an artificial manner. Modern lenses often feel too technical while exaggerating in sharpness or optical correctness. Leitz announces the M 0.8 by saying that they adopt the imperfectness of the world and our eyes. Well it may also be an excuse for some old groups of glasses but you tend to understand what they mean, when you look at your footage. It may not be the right lens for Michael Bay but one who wants to show the perfectness of reality on a large sensor without optical effects and show-off may find his great luck in this glass. Let’s try to sort things out a little bit more detailed.
Aber genug Tech Talk an dieser Stelle, kommen wir zu dem Punkt, an dem alle interessiert sind:
Wie ist der M 0.8 Look?
Der erste bildliche Eindruck der M 0.8 war sehr harmonisch und unaufdringlich. Der Look erinnert tatsächlich an ältere Cine Optiken, die auf eine sehr sanfte Art und Weise die Realität einfangen, ohne bestimmte Teile des Bildes künstlich in den Vordergrund zu spielen. Moderne Linsen fühlen sich oft sehr technisch an und übertreiben in Schärfe und optischer Korrektheit. Leitz kündigt die M 0.8 mit der Eigenschaft an, die Unperfektheit der Welt und unserer Augen zu adaptieren. Was zuerst wie eine kleine Entschuldigung für altes Glas klingt, wird bei längerer Benutzung aber doch verständlich.
Though the glass is old you can’t tell the M 0,8 are retro style lenses. Really not. The colors are accurate and the amount and intensity of optical defects among those of other modern lenses.
What was wonderful to see is the transition between focus and out-of-focus. The focus falls off so calmly and gently that the picture gets a very smooth character without hard separation of the different depth planes. This had the biggest impact to us. The image does not feel technical at all, it feels pure and naturalistic. Another effect of this attribute is that even if you have a shot which is slightly out of focus you can easily take it into your edit. While other lenses give you the feeling of a non-usable moment when nothing is correct in focus this set of glass will forgive you even when you’re shooting open wide.
Obwohl das eigentliche Glas schon älter ist, kann man wirklich nicht sagen, dass die M 0.8 Retro Optiken sind. Die Farben sind akkurat und die Anzahl an optischen Fehlern und Aberrationen vergleichbar mit modernen Optiken.
Wunderschön zu sehen ist der Übergang zwischen Schärfe und Unschärfe. Der Grad ist so soft und ruhig, dass das Bild einen sehr weichen Character bekommt, ohne die verschiedenen Tiefebereiche zu hart voneinander zu trennen. Das beeindruckte uns am meisten.
Das Bild fühlt sich in keinster Weise technisch an, es wirkt pur und natürlich. Ein weiterer Vorteil dieser Eigenschaft: Selbst, wenn der scharfzustellende Bereich des Bildes eine leichte Unschärfe aufweist, fühlt sich das Bild noch annehmbar und schneidbar an. Andere Optiken verzeihen hier deutlich weniger; der Take wandert direkt in die Tonne. Hier aber lockt das Drehen mit offener Blende und viel Spielraum.

Framegrab Slog2 native and LUT (Alister Chapman Venice -1 Green LUT)
M 0.8 focus fall-off and a frame out of focus
Framegrab Slog2 native and LUT (Alister Chapman Venice -1 Green LUT)
M 0.8 Fokus Übergang und Unscharfes Bild
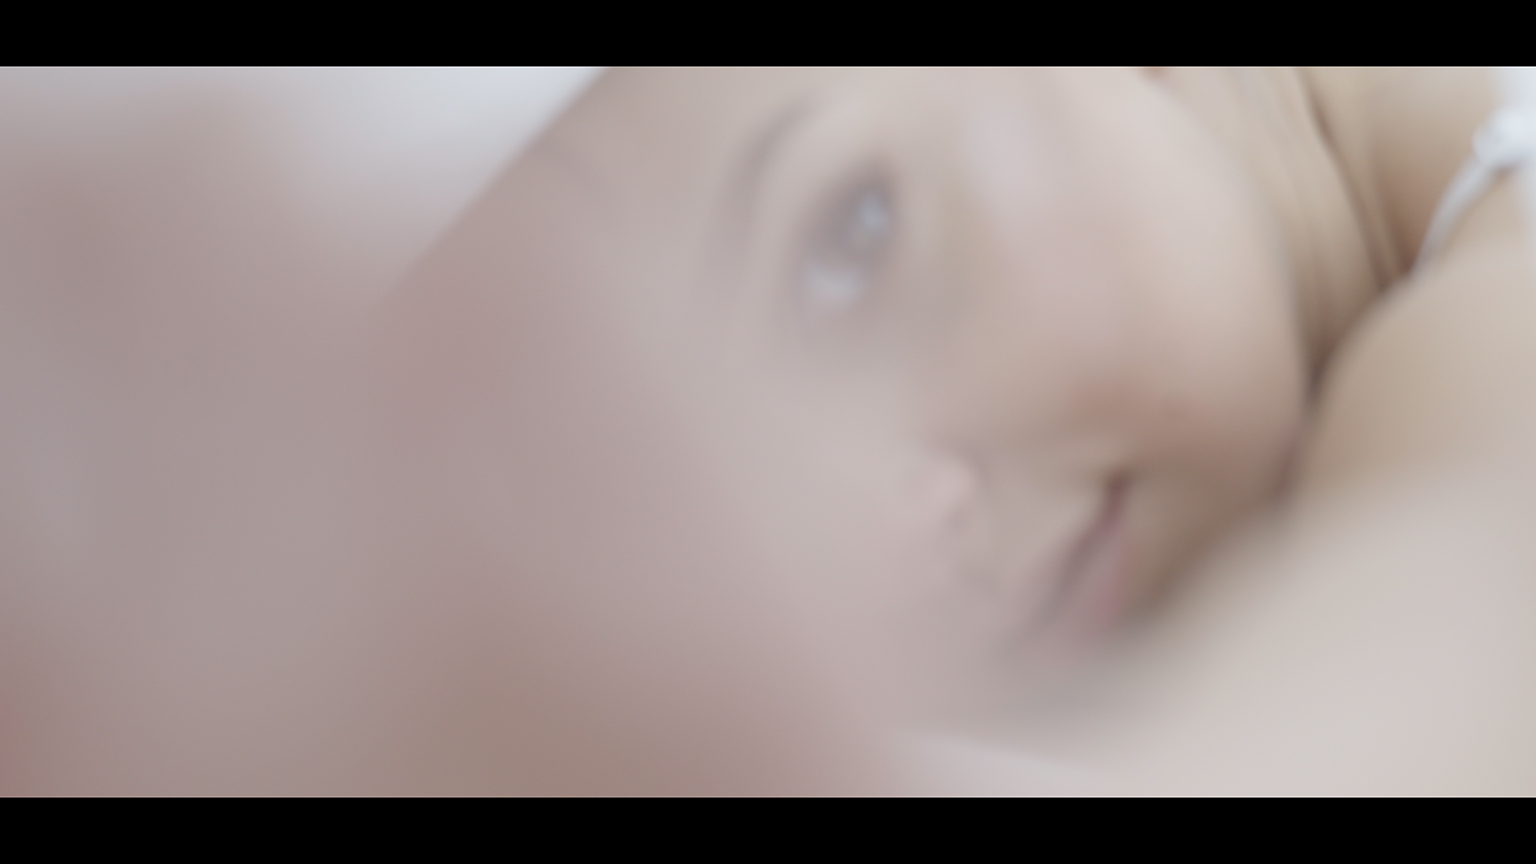
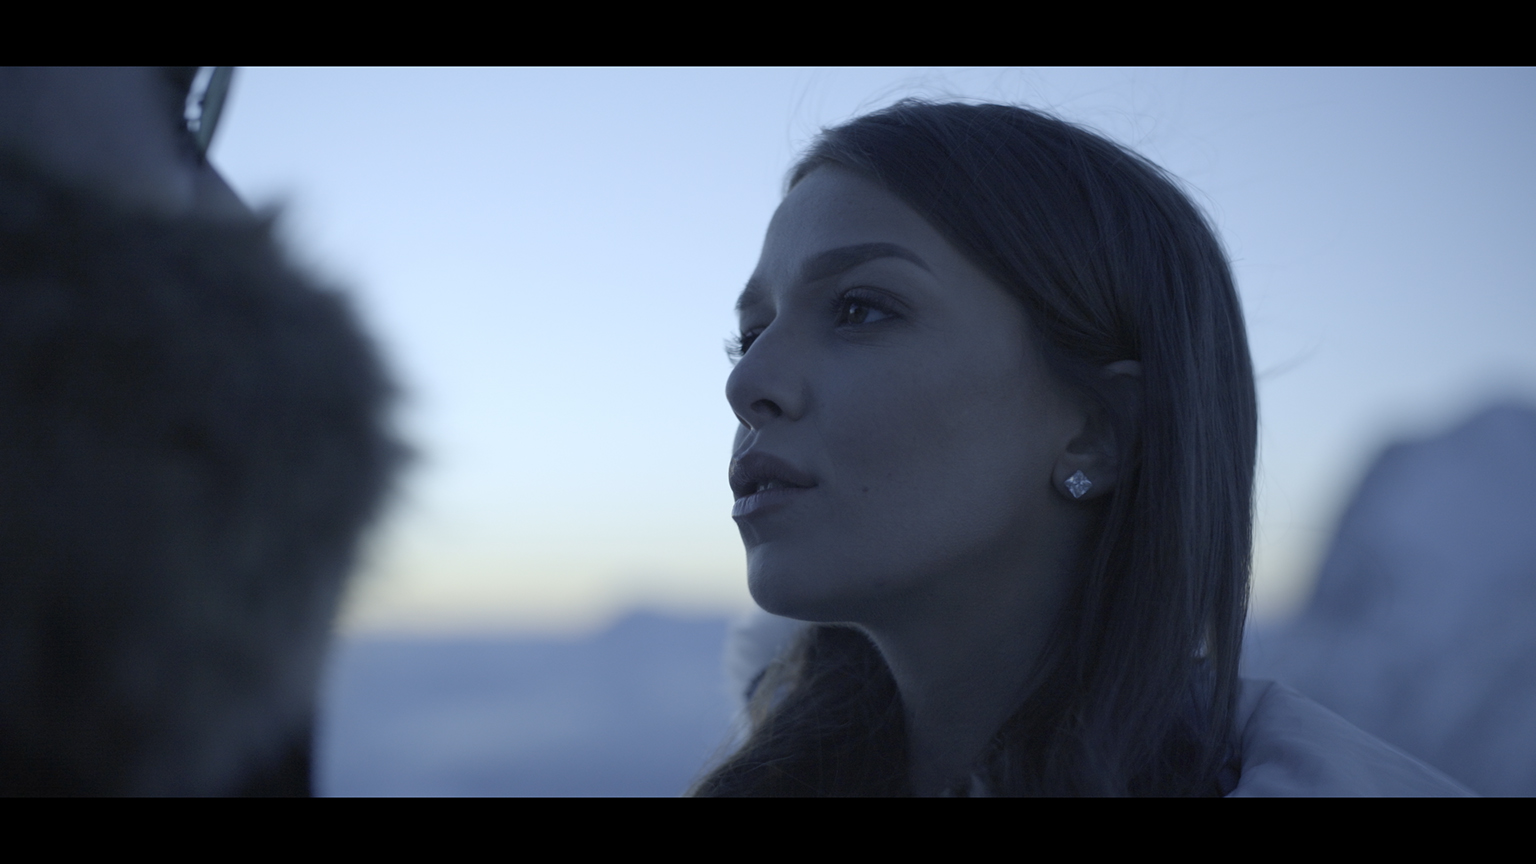
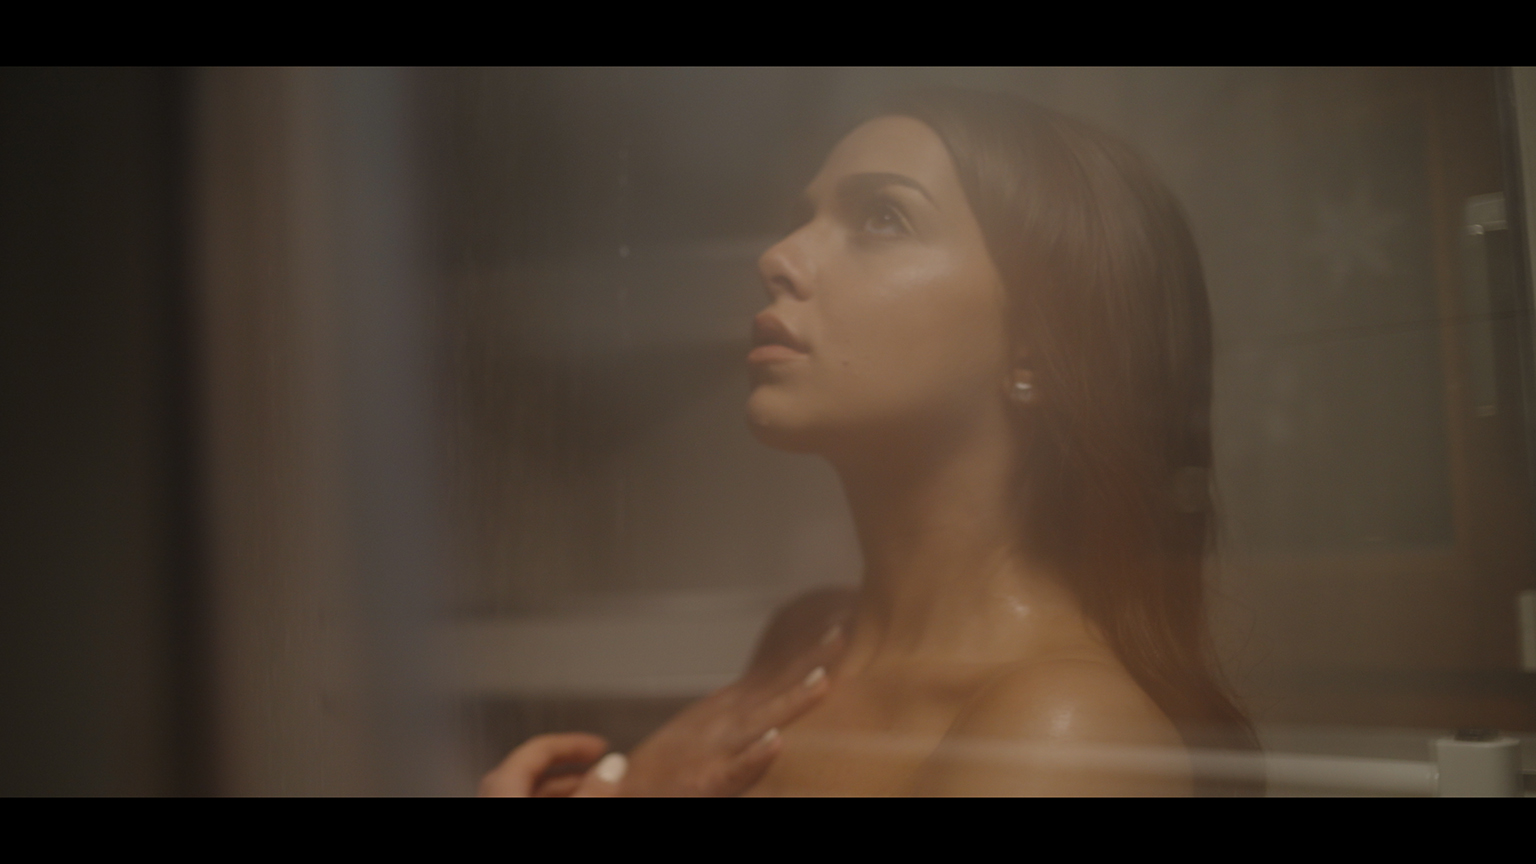
Skin tones are transferred very evenly throughout the whole gamma range. The skin color feels more than nice and as it’s pretty hard to say where the work of the glass ends and the work of the sensor begins one can definitely say that the lens does a great job in giving the sensor a very beautiful and skin-charming bundle of light rays. I would carefully claim that it does its best job in warm frames with a sufficient amount of light as you can see in this framegrab. There it convinces with a stunning and even saturation.
Hautfarben werden durch den gesamten Gamma Bereich sauber abgelichtet, sie sehen sich schön und gleichmäßig an. Da schwer zu sagen ist, wo hier die Arbeit der Optik aufhört und die des Sensors beginnt, lässt sich in jedem Fall sagen, dass die M 0.8 einen hervorragenden und charmanten Satz an Lichtstrahlen an den Sensor liefern. Ich würde vorsichtig behaupten, dass sie ihre beste Arbeit in warmen Umgebungen mit ausreichend Beleuchtung machen. Hier überzeugen Sie mit ordentlicher und gleichmäßiger Sättigung.
Framegrab Slog2 native and LUT (Alister Chapman Venice -1 Green LUT)
M 0.8 on a warm bright set
Framegrab Slog2 native and LUT (Alister Chapman Venice -1 Green LUT)
M 0.8 unter hellem, warmen Licht
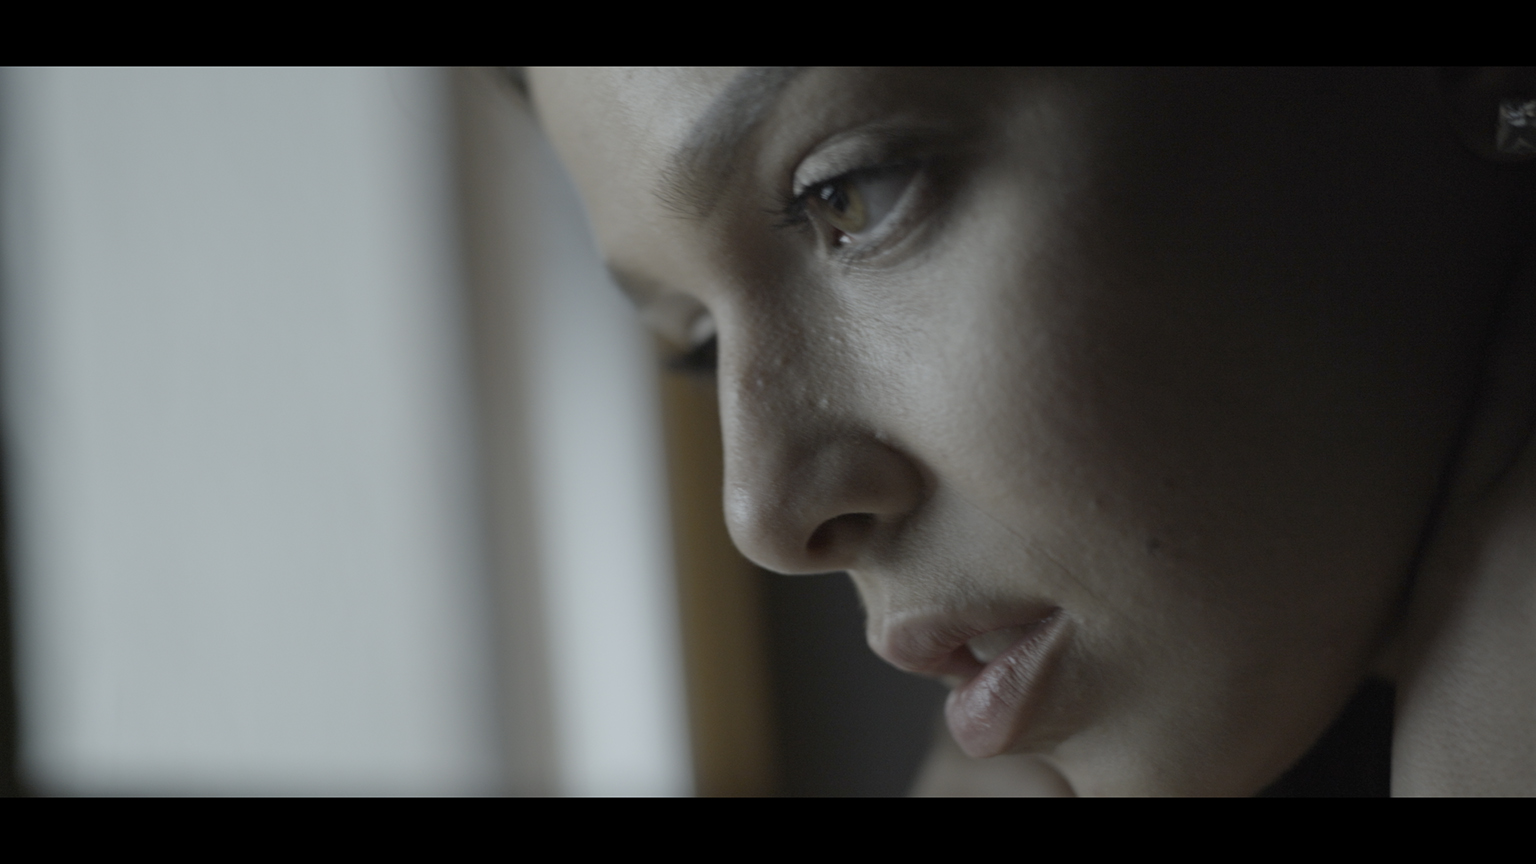
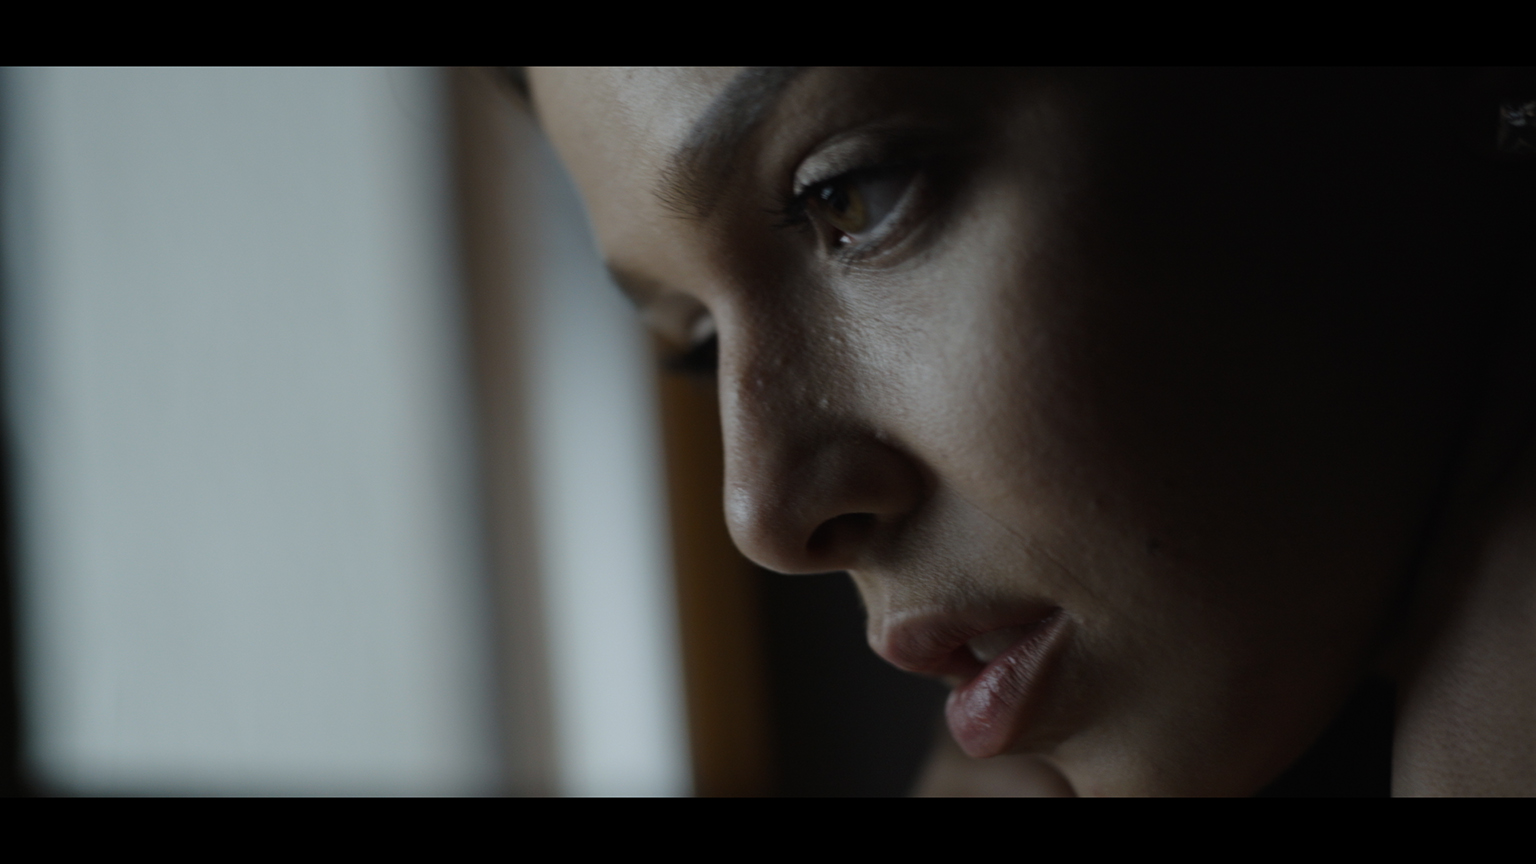
But that shall not mean that you won’t be happy with cooler or darker blue tones. The lenses still hold up this challenge. Blacks are covered completely and if you have a sensor with a white dynamic range it will be filled up by the M 0.8.
In terms of contrast the lens plays a persistent roll. It does not matter if you are shooting a high or low contrast picture. It always presents a vivid image which gives you the impression of a fully exhausted color and gamma range.
Jedoch soll das nicht bedeuten, dass sie nicht auch eine hervorragende Arbeit in kälteren, dunkleren Lichtbedingungen leisten. Alle Schwärzen sind sauber durchgezeichnet und ein Sensor mit hohem Kontrastumfang wird gänzlich befriedigt.
In Sachen Kontrast überzeugen die M 0.8 in allen Situationen: Egal ob High oder Low Contrast, die Optiken erzeugen stets ein lebhaftes Bild, welches sich augenscheinlich über die gesamte Gamma Breite erstreckt.
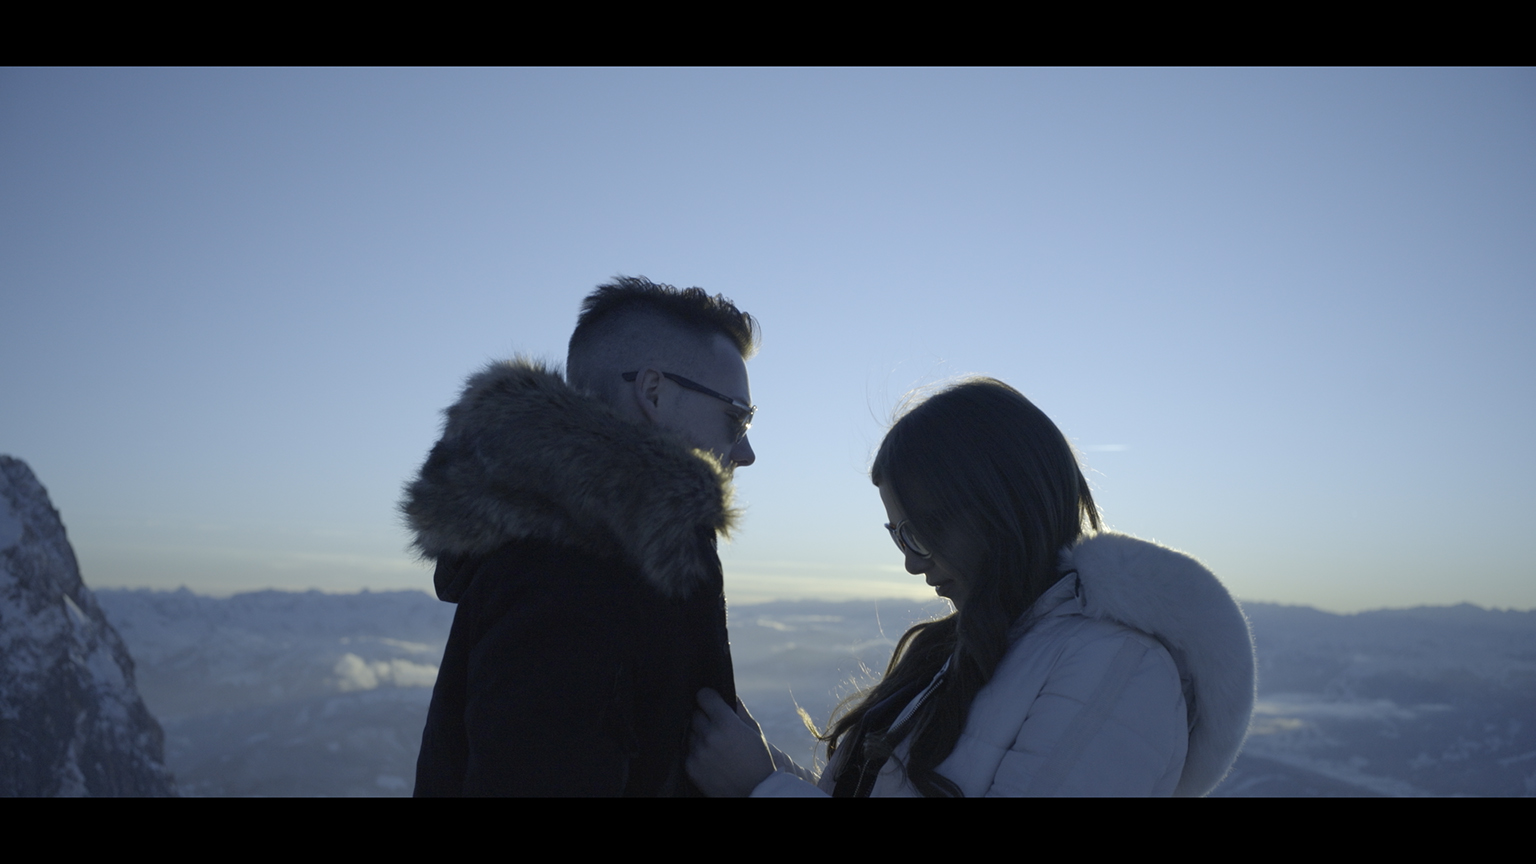
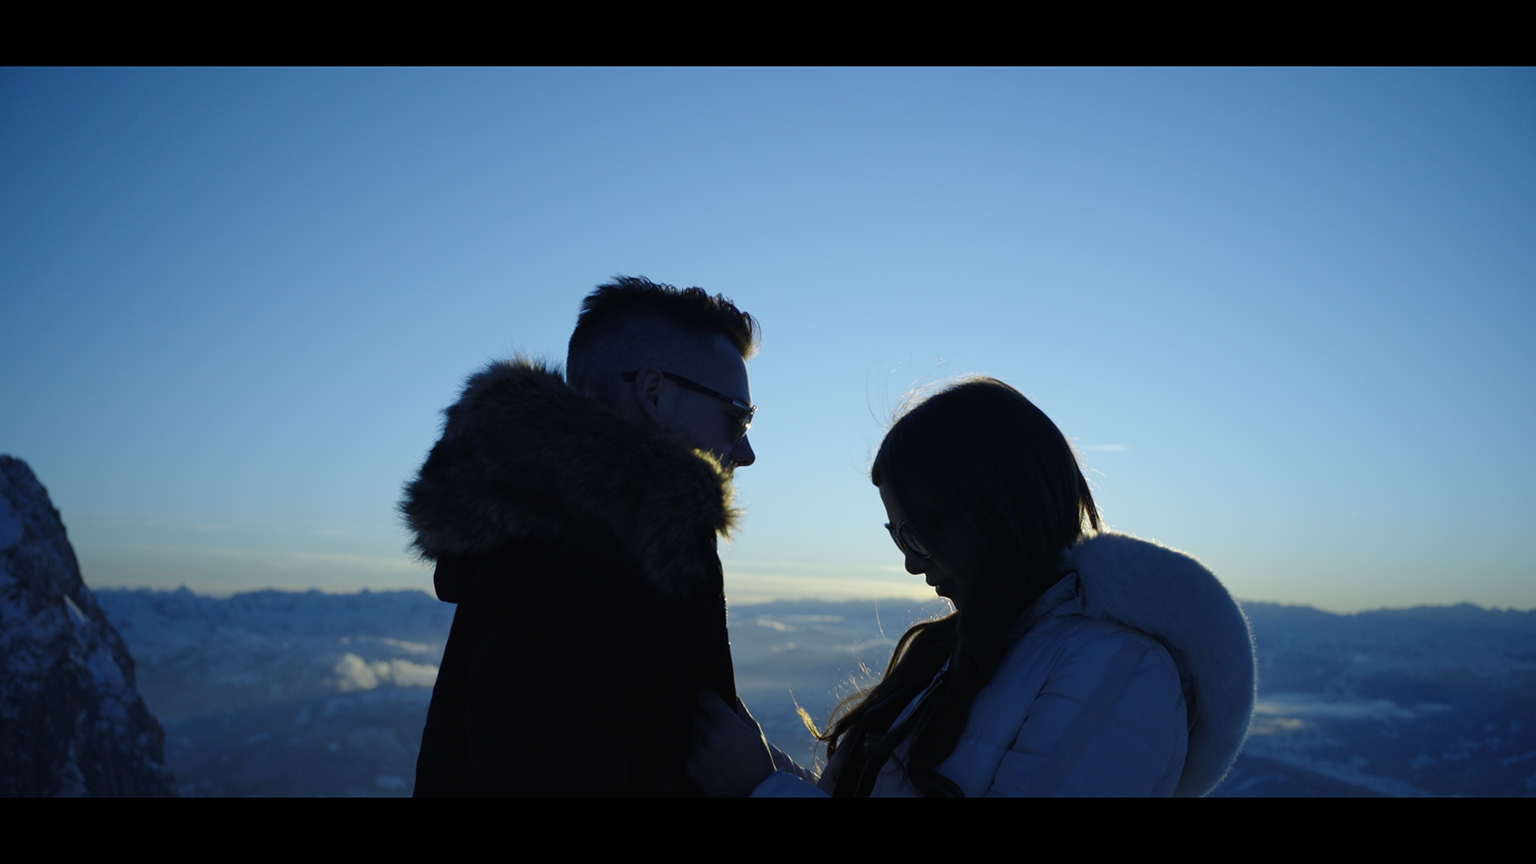
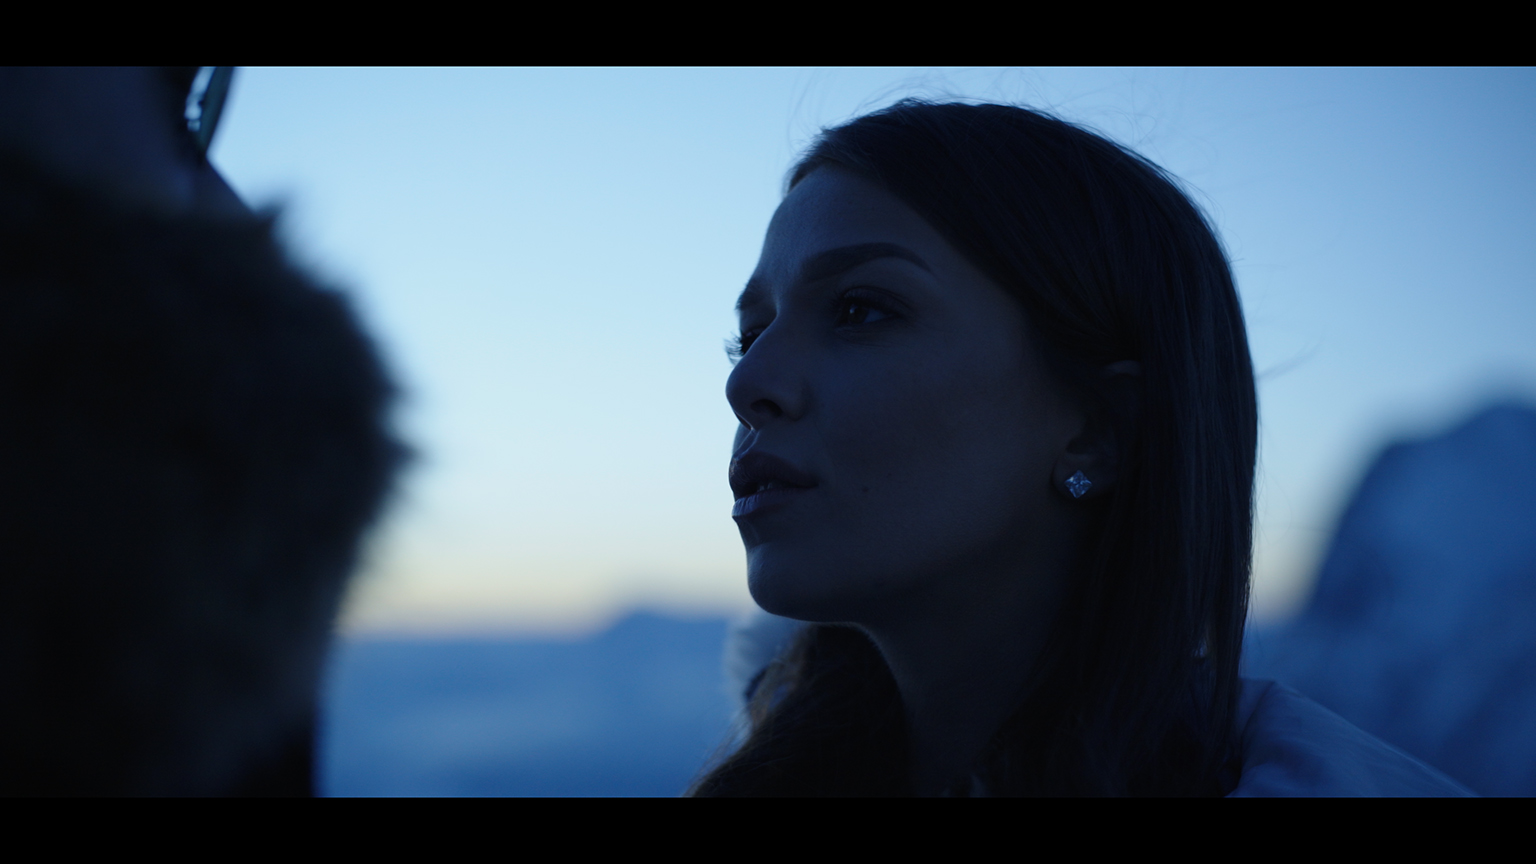
Framegrab Slog2 native and LUT (Alister Chapman Venice -1 Green LUT)
M 0.8 on a cool dark set
Framegrab Slog2 native and LUT (Alister Chapman Venice -1 Green LUT)
M 0.8 in kalter, dunkler Lichtumgebung
Framegrab Slog2 native and LUT (Alister Chapman Venice -1 Green LUT)
M 0.8 low contrast set
Framegrab Slog2 native and LUT (Alister Chapman Venice -1 Green LUT)
M 0.8 in einem weniger kontrastreichem Set
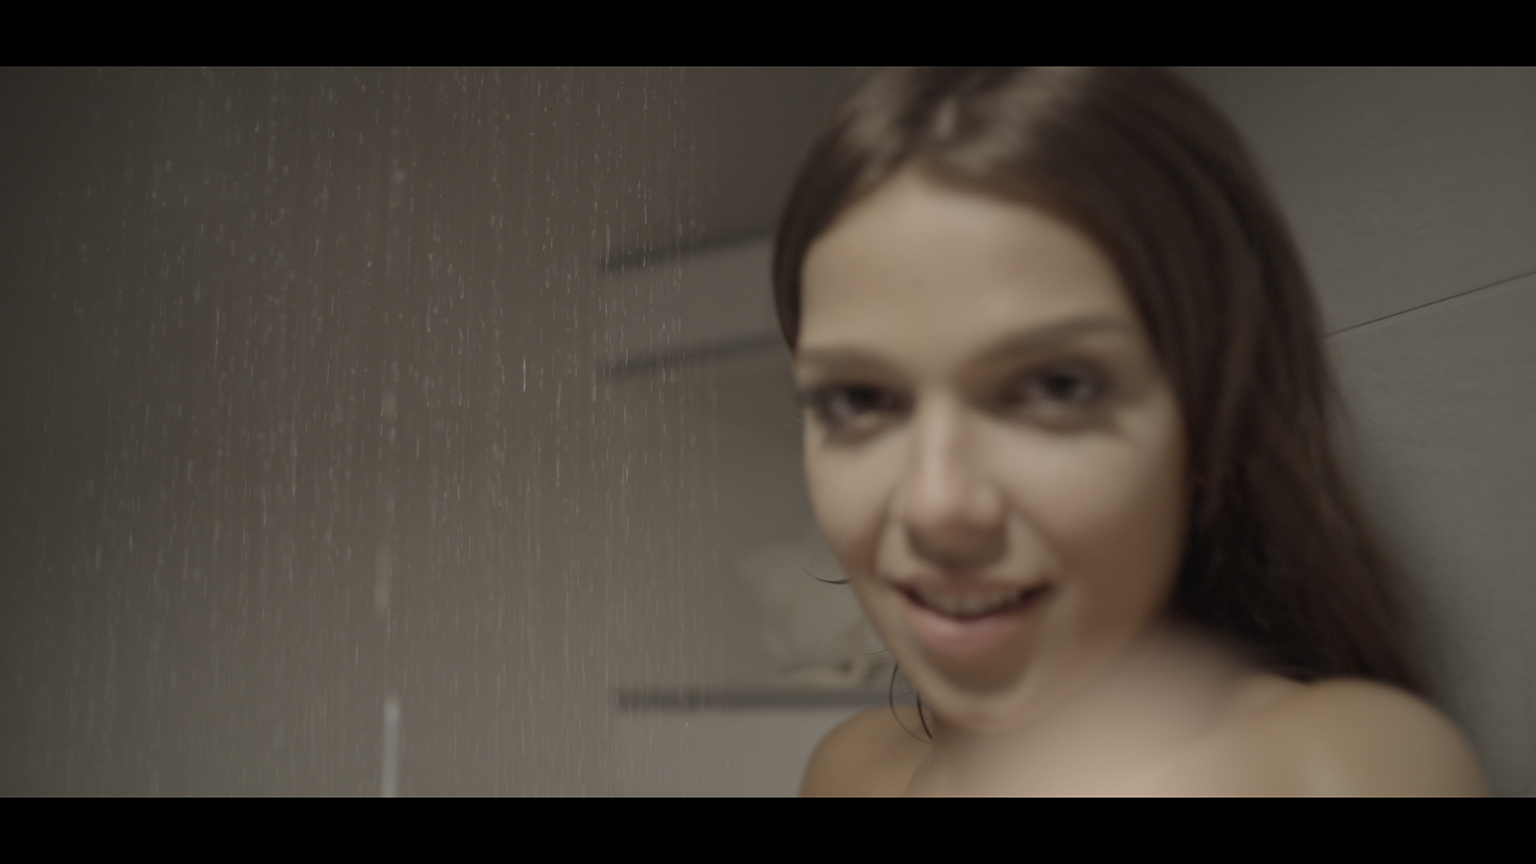
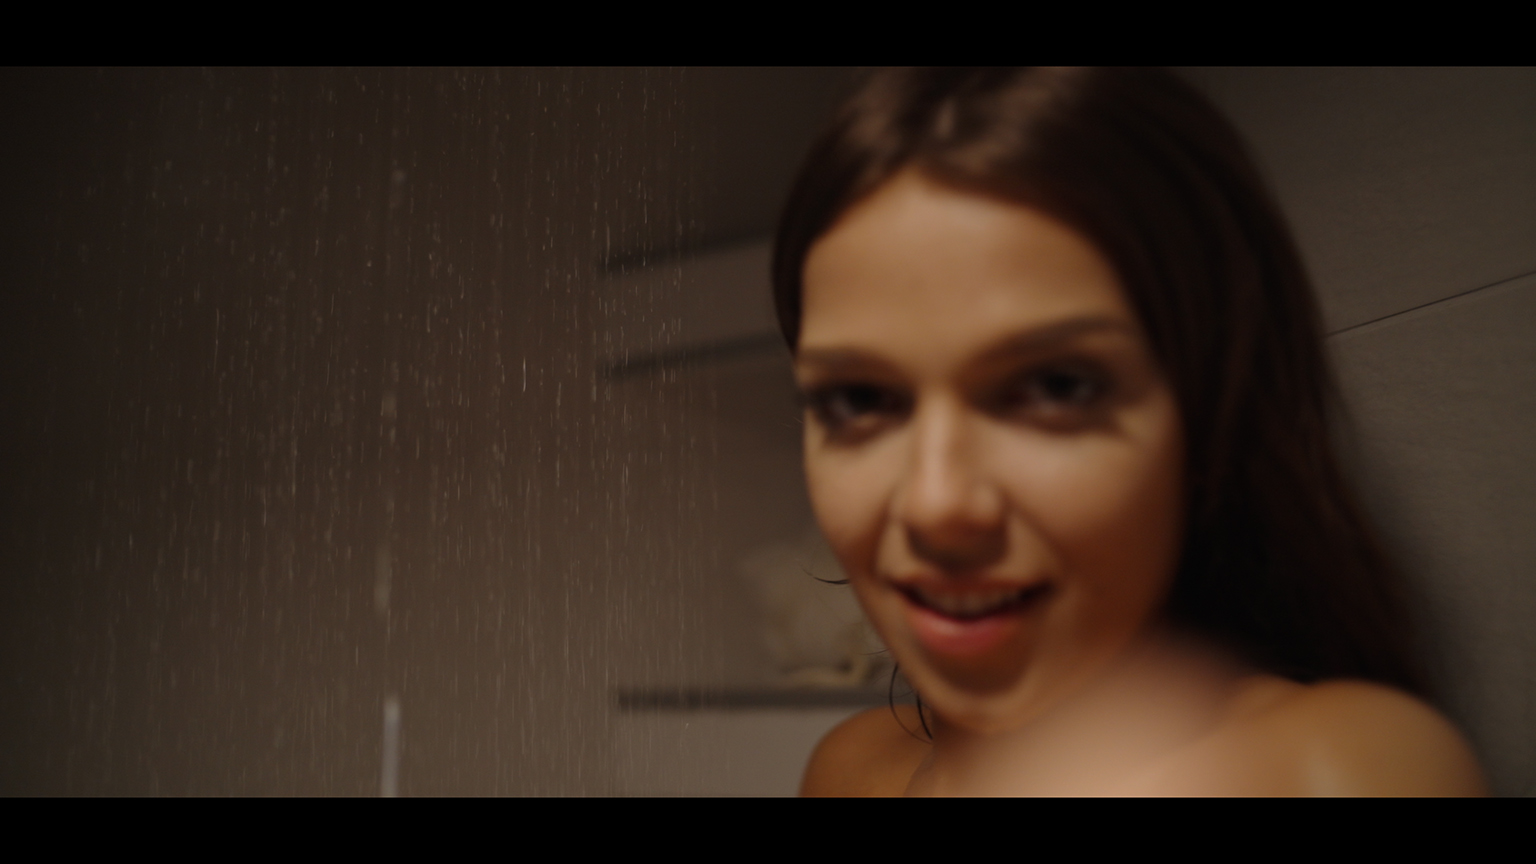
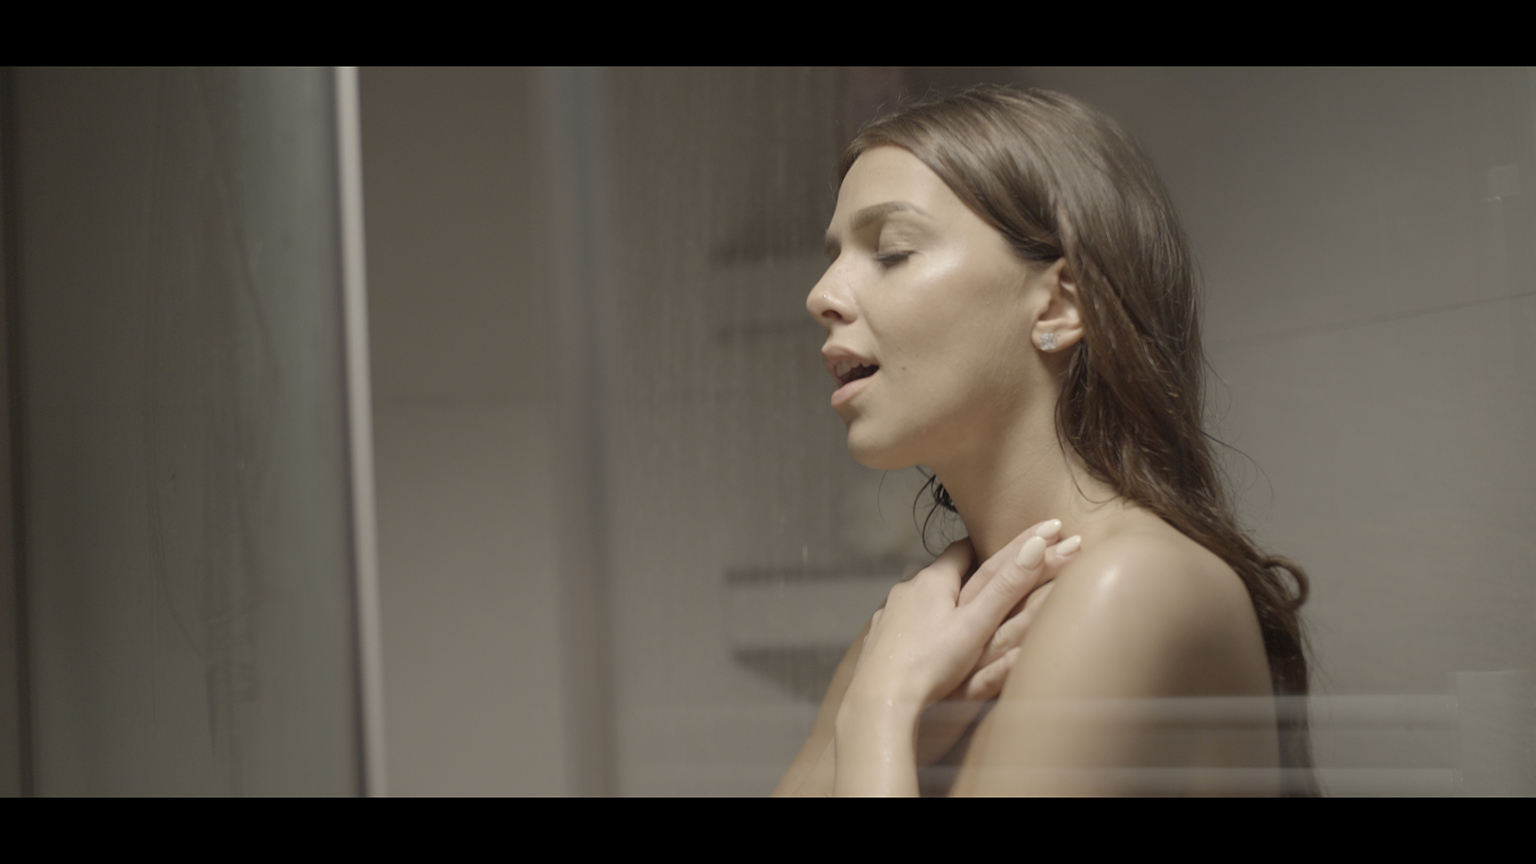
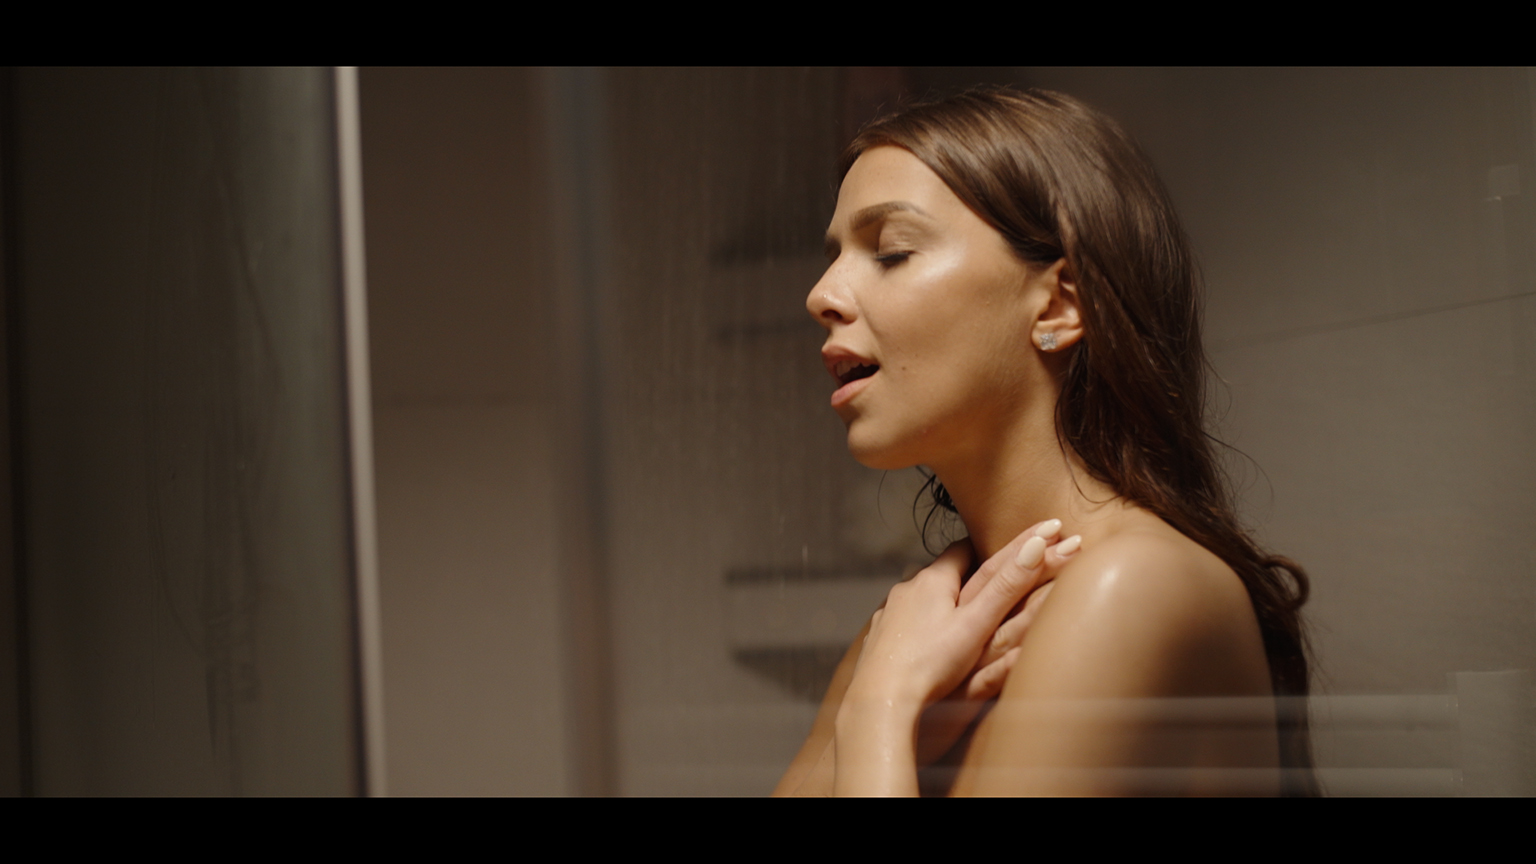
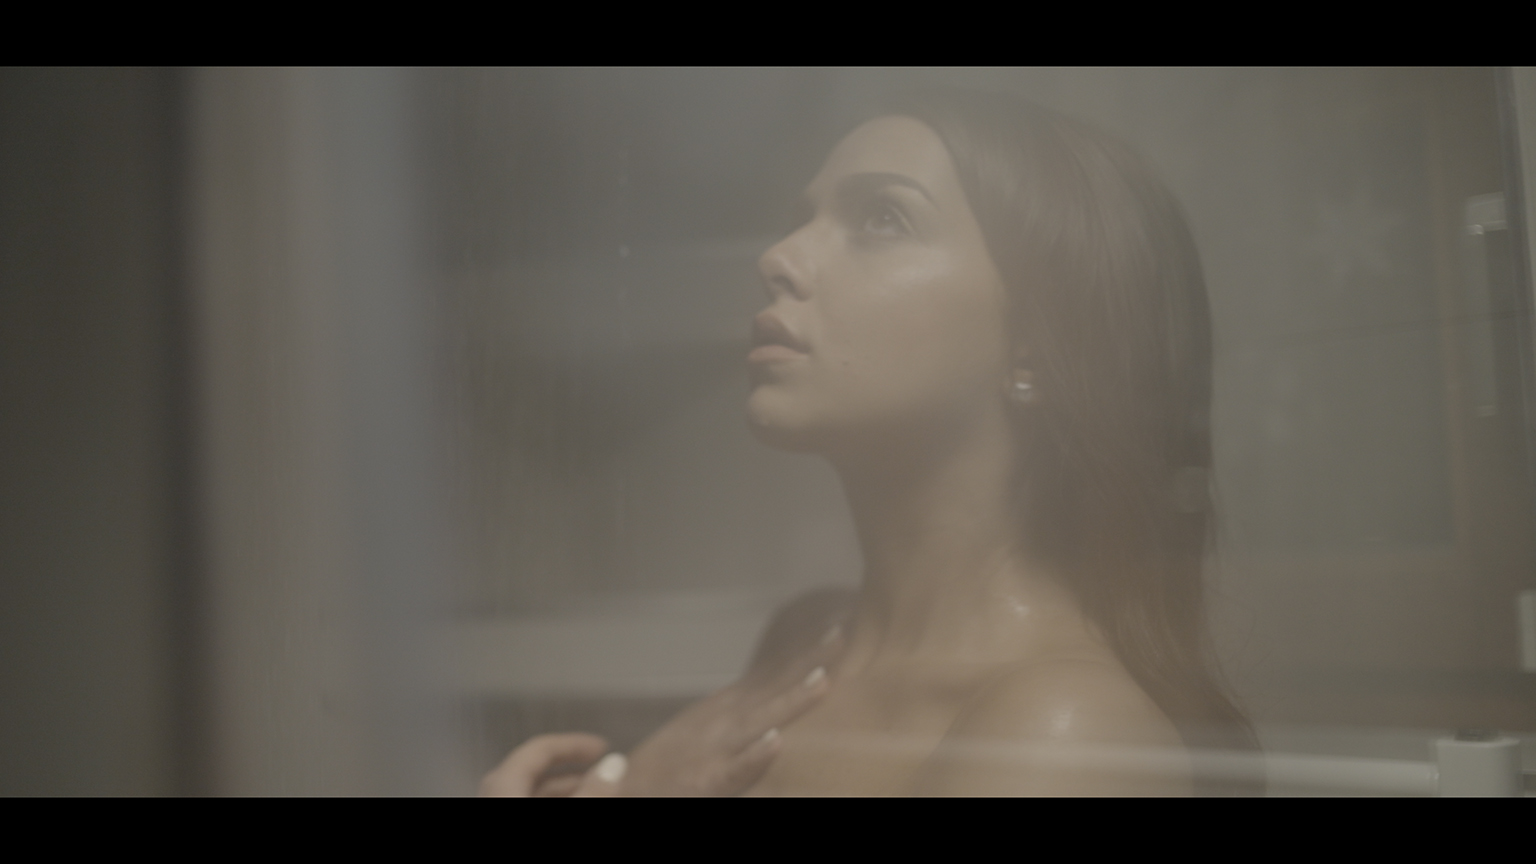
By saying that the M 0.8 create a smooth image I do not mean that the picture itself is soft. No way. It has the opportunity to show you details without looking oversharpened. While architecture shots may demand a more distinctive style, portrait shots do benefit of this feature. As you can see in the framegrab we decided not to attract much attention with styling and make up. The reason was more regarding content as we wanted the girl to look beautiful but realistic. This is why we didn’t quarreled with wrinkles or skin bruises which you can clearly see. But they harmonize extremely with the rest of the picture giving it a naturalistic but still handsome personality.
Ein weicher Bildcharakter soll nicht bedeuten, dass die Bilder generell unschärfer ausfallen. Auf keinen Fall. Die M 0.8 sind in der Lage, Details zu präsentieren, ohne überschärft zu wirken. Während Architekturbilder vielleicht etwas mehr Strenge benötigen, profitieren Portraits reichlich von dieser Eigenschaft. Wie in dem Framegrab zu sehen, haben wir bewusst von zu intensivem und künstlichem Make Up abgesehen, um unsere Schauspielerin schön aber natürlich und realistisch wirken zu lassen. Daher hatten wir auch keine Angst vor Hautunebenheiten und Co. Die M 0.8 lassen sie harmonisch und noch charmant aussehen.
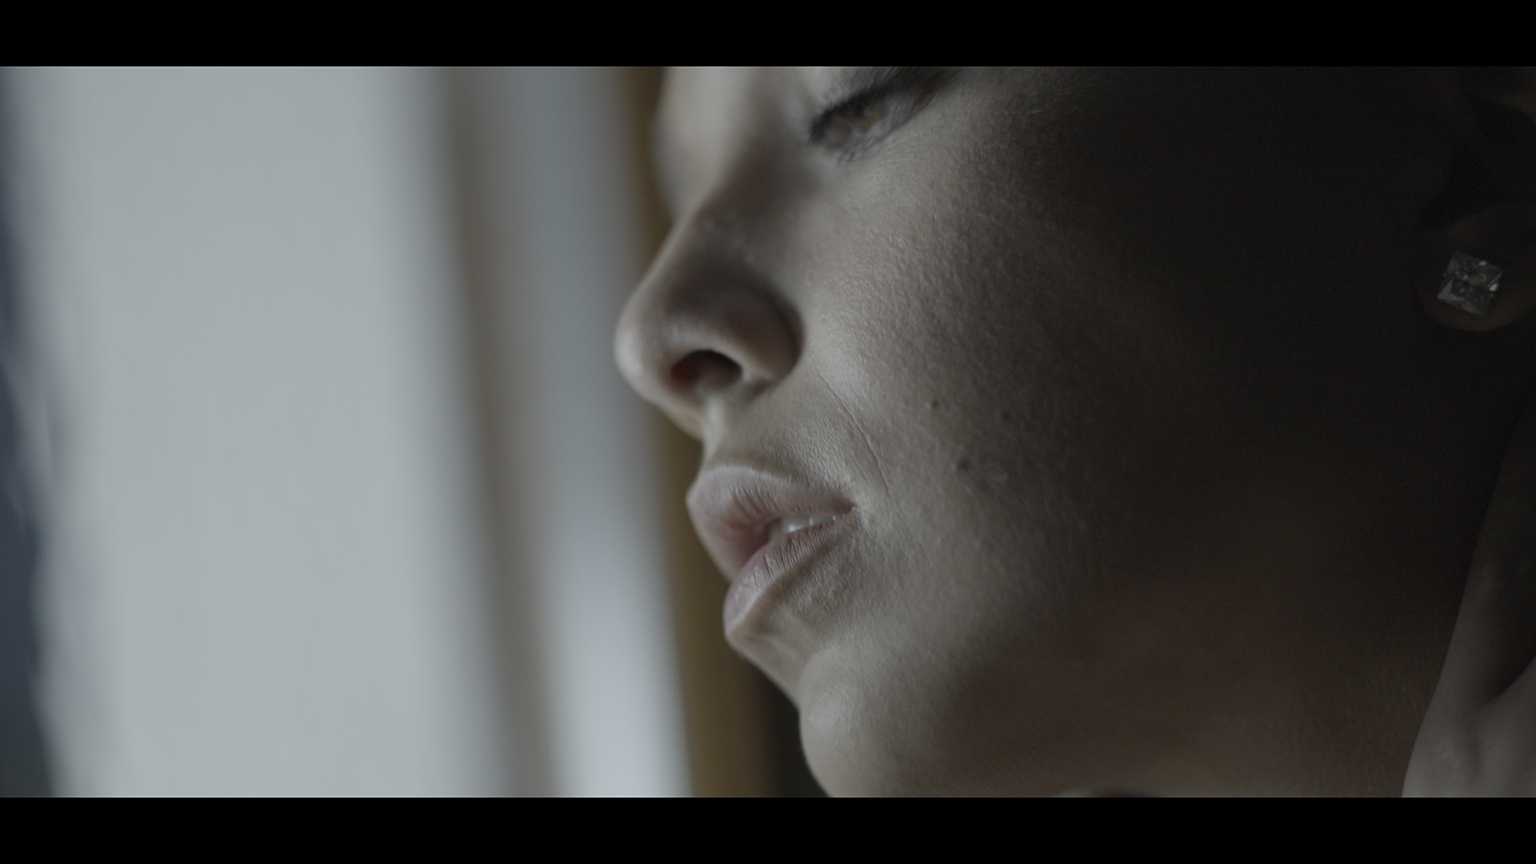
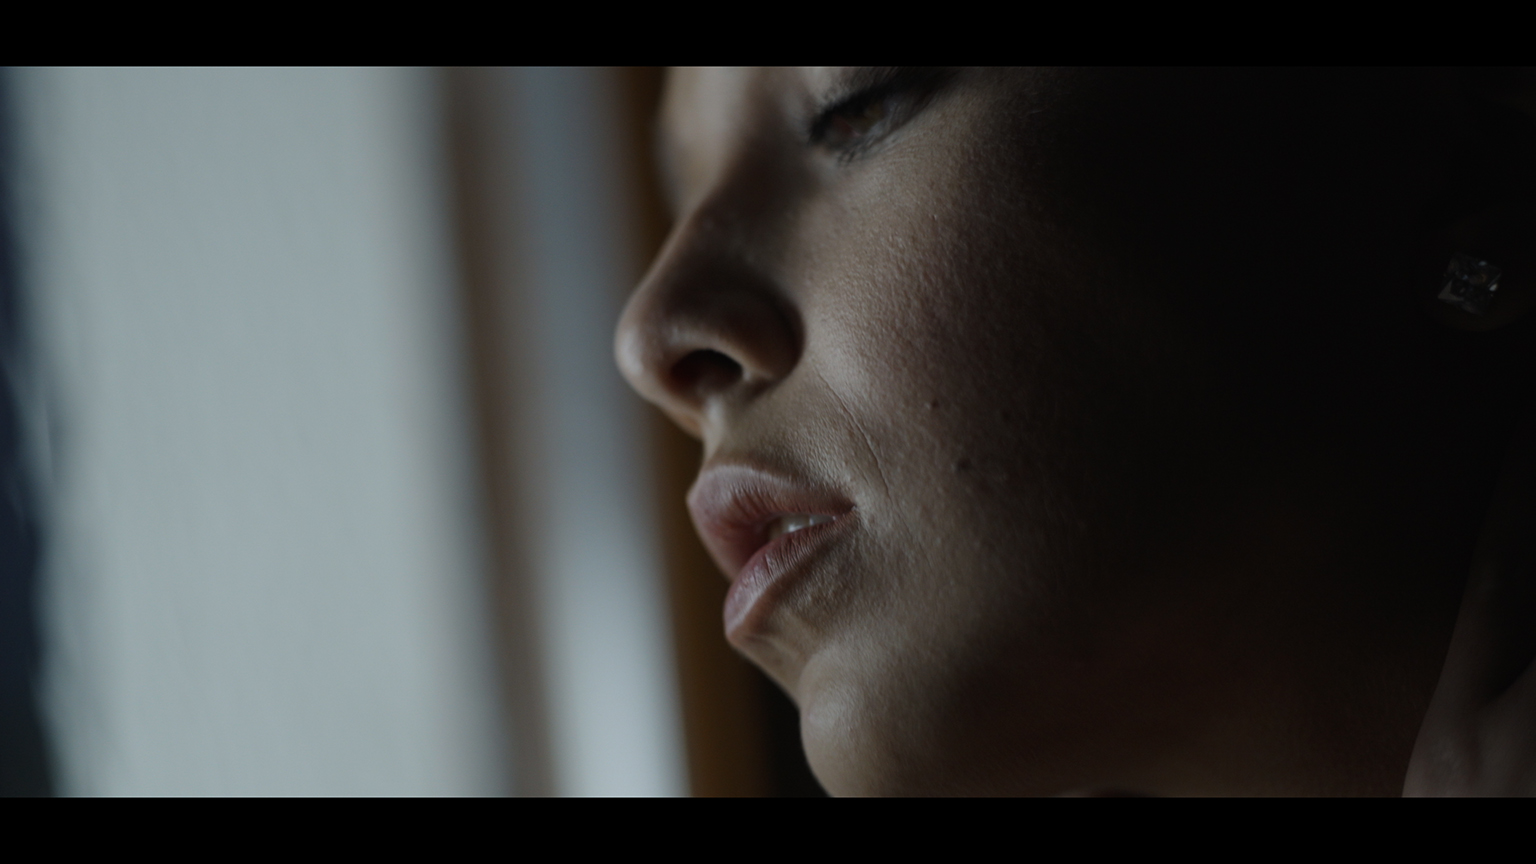
Framegrab Slog2 native and LUT (Alister Chapman Venice -1 Green LUT)
M 0.8 sharpness
Framegrab Slog2 native and LUT (Alister Chapman Venice -1 Green LUT)
M 0.8 Schärfe
What always comes into account when lenses are tested is the bokeh. As the lenses are of a slightly higher age you should not expect it to be that kind of well-formed, clean and elaborated that they often come with modern primes. But again it feels like harmonizing with the rest of the frame finding a way to define an own perfectly imperfect look. And it definitely does not look like added in VFX.
Having said that, what you should expect are quite big balls spread in your frame when you go open wide up to 0.95.
Ein wichtiger Aspekt bei Optik Tests ist stets das Bokeh. Da das Glas wie bereits beschrieben schon etwas älter ist, sollte man keine zu sauberen, wohl geformten, ausentwickelten Effekte erwarten, wie bei modernen Objektiven. Aber auch hier fügt sich wieder etwas sehr harmonisch in das Gesamtbild der Linsen ein. Das Bokeh hat seinen eigenen, perfekt unperfekten Look. Und es fühlt sich definitiv nicht nach VFX an.
Natürlich sollte man mit ziemlich großen Bällen in seinem Bild rechnen, wenn man mit der f0,95 spielt.

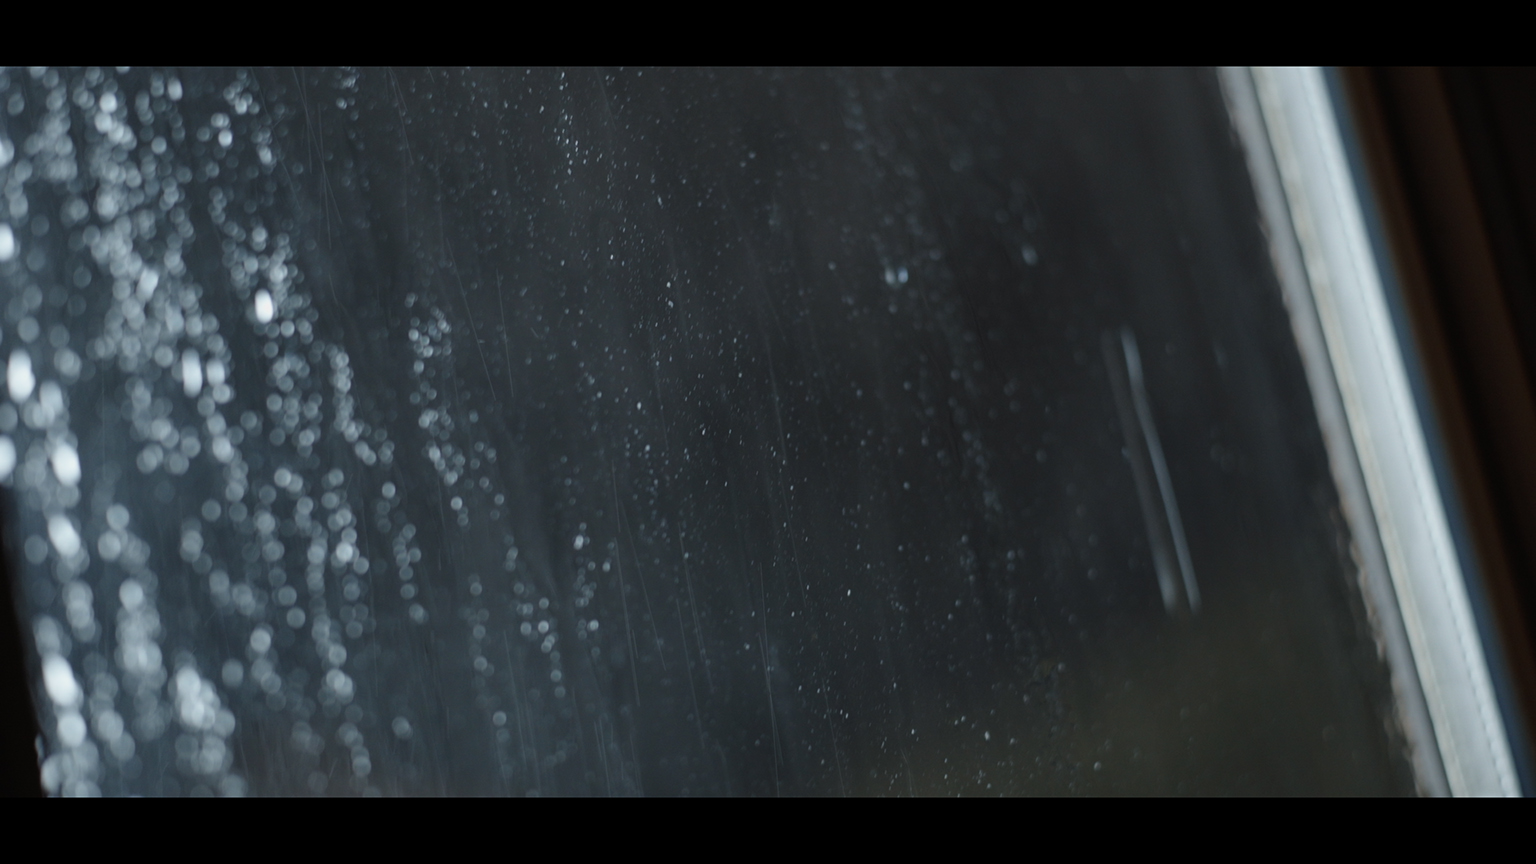
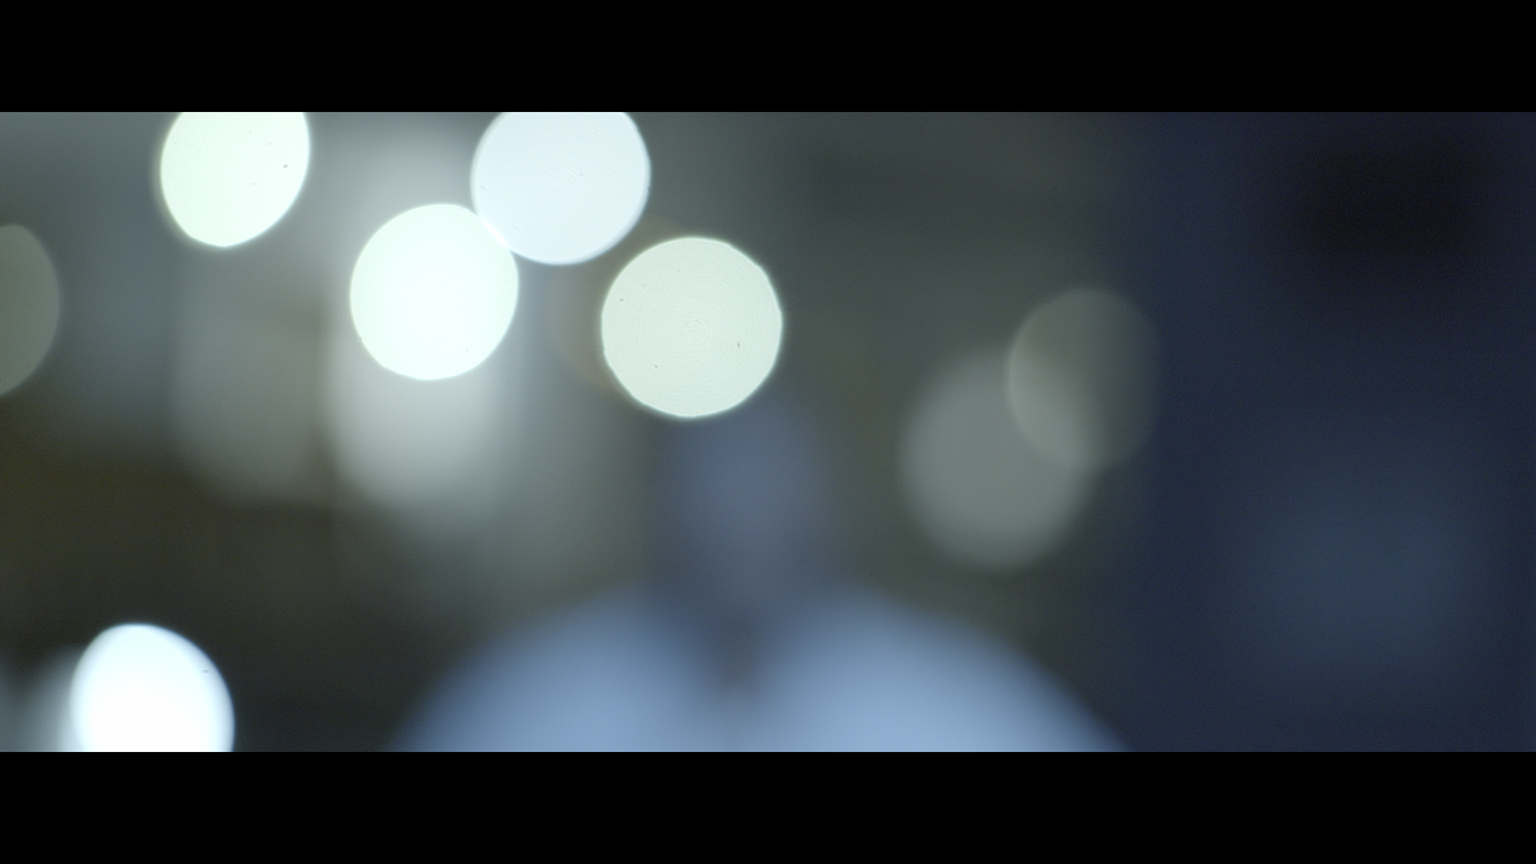
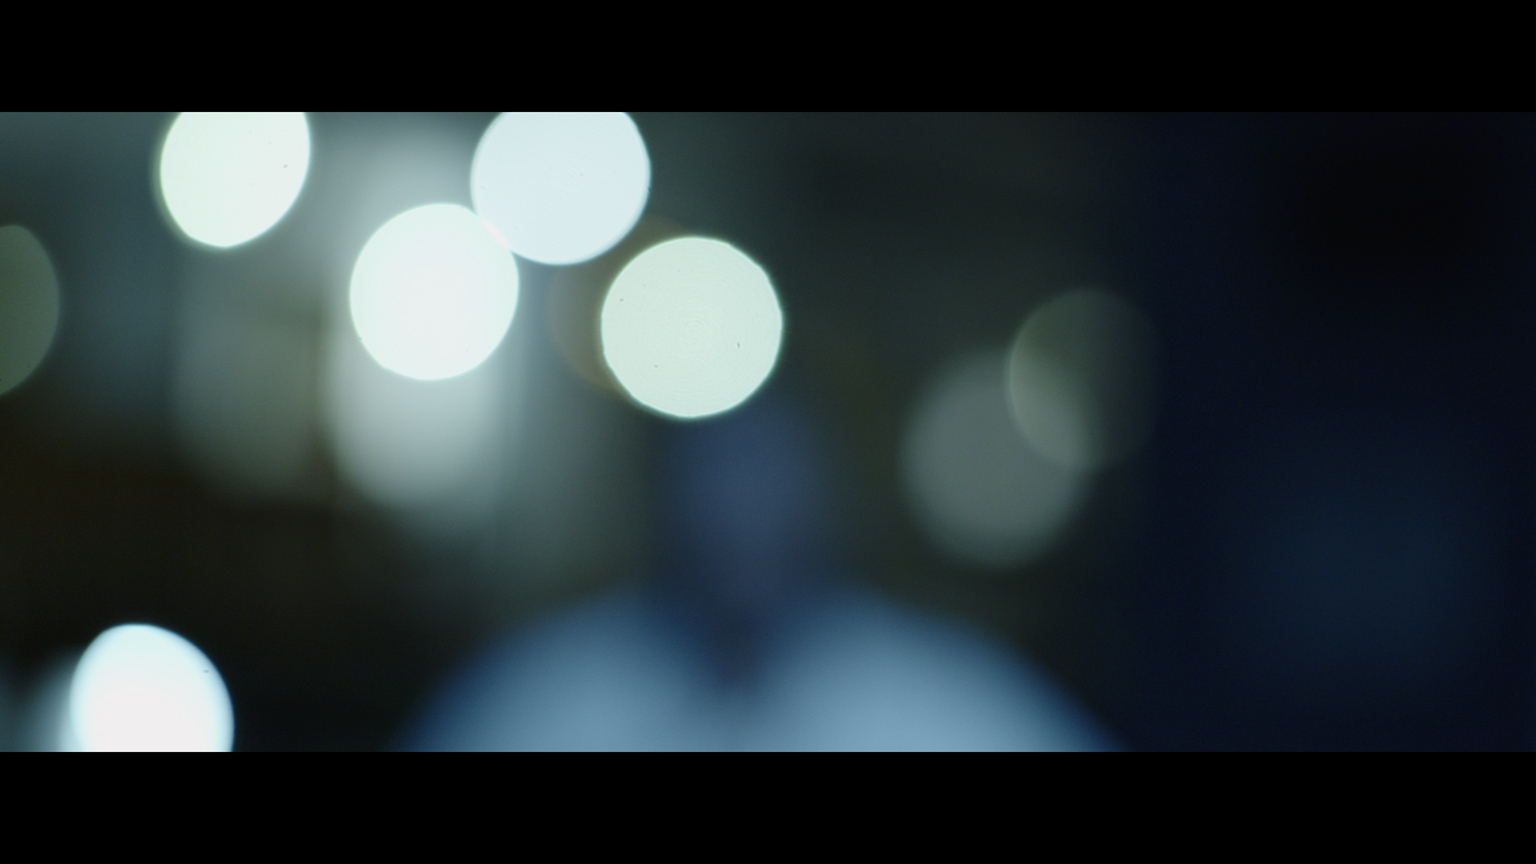
Framegrab Slog2 native and LUT (Alister Chapman Venice -1 Green LUT)
M 0.8 unterschiedliche Framegrabs mit sichtbarem Bokeh
Framegrab Slog2 native and LUT (Alister Chapman Venice -1 Green LUT)
M 0.8 different frames with visible bokeh
All in one I would describe the M 0.8 look as very charming and very smooth, skin friendly and accurate through the whole range of color and gamma, competing older high class cine glass without any special effects but with small but very characteristic imperfectnesses. The aperture on the other hand offers a great playground which a lot of modern cine lenses are missing. Recommendation? Definitely yes. As long as you are not lot looking for a more technical look or great optical effects like exciting lens flares.
Alles in allem würde man den M 0.8 Look als sehr charmant und sanft (nicht unscharf!), hautfreundlich und akkurat durch den gesamten Gamma Bereich beschreiben. Sie stehen in direkter Konkurrenz zu älteren Cine Objektiven, ohne Angebereien und Special Effects, aber mit einer tollen, wenn auch teilweise unvollkommenen Charakteristik. Die Blende bietet einen großen Spielraum und Platz für künstlerisches Austoben. Empfehlung? Definitiv, so lange man nicht eine technische Optik mit großem, auffallenden Effekt sucht.
Thanks again to Finder TV Kameraverleih in Cologne for support, equipment and coffee.
Thank you also to Alister Chapman for providing such a great set of LUTs.
Do also check out my reels on this site 🙂
Patrick Dosanjh, Cinematographer
Danke erneut an Finder TV Kameraverleih in Köln für Support, Equipment und Kaffee.
Danke auch an Alister Chapman für die hervorragenden Look Up Tables.
Check out my reels on this site 🙂
Patrick Dosanjh, Cinematographer
